If you wish to import demo content using WordPress importer plugin and using WP native import command then follow the below steps. Before importing the demo file make sure you have activated all the required plugins from Native Church -> Plugins (Check Info)
Step 1 : Log into your WordPress Dashboard and navigate to Tools -> Import. Then click on WordPress (If importer plugin is not installed already then click on “Install Now” first and then follow)

Step 2 : Install and Activate importer plugin. Then select the XML file “content.xml” from your downloaded package “Demo Content” folder. To get the “Demo Content” folder you must have downloaded “All files & documentation” archive from your ThemeForest’s Downloads page. In the “Demo Content” folder you will find directories with the names of your desired demo for ex. parish or chapel. Choose the folder of the demo which you want to import, here’s the difference:

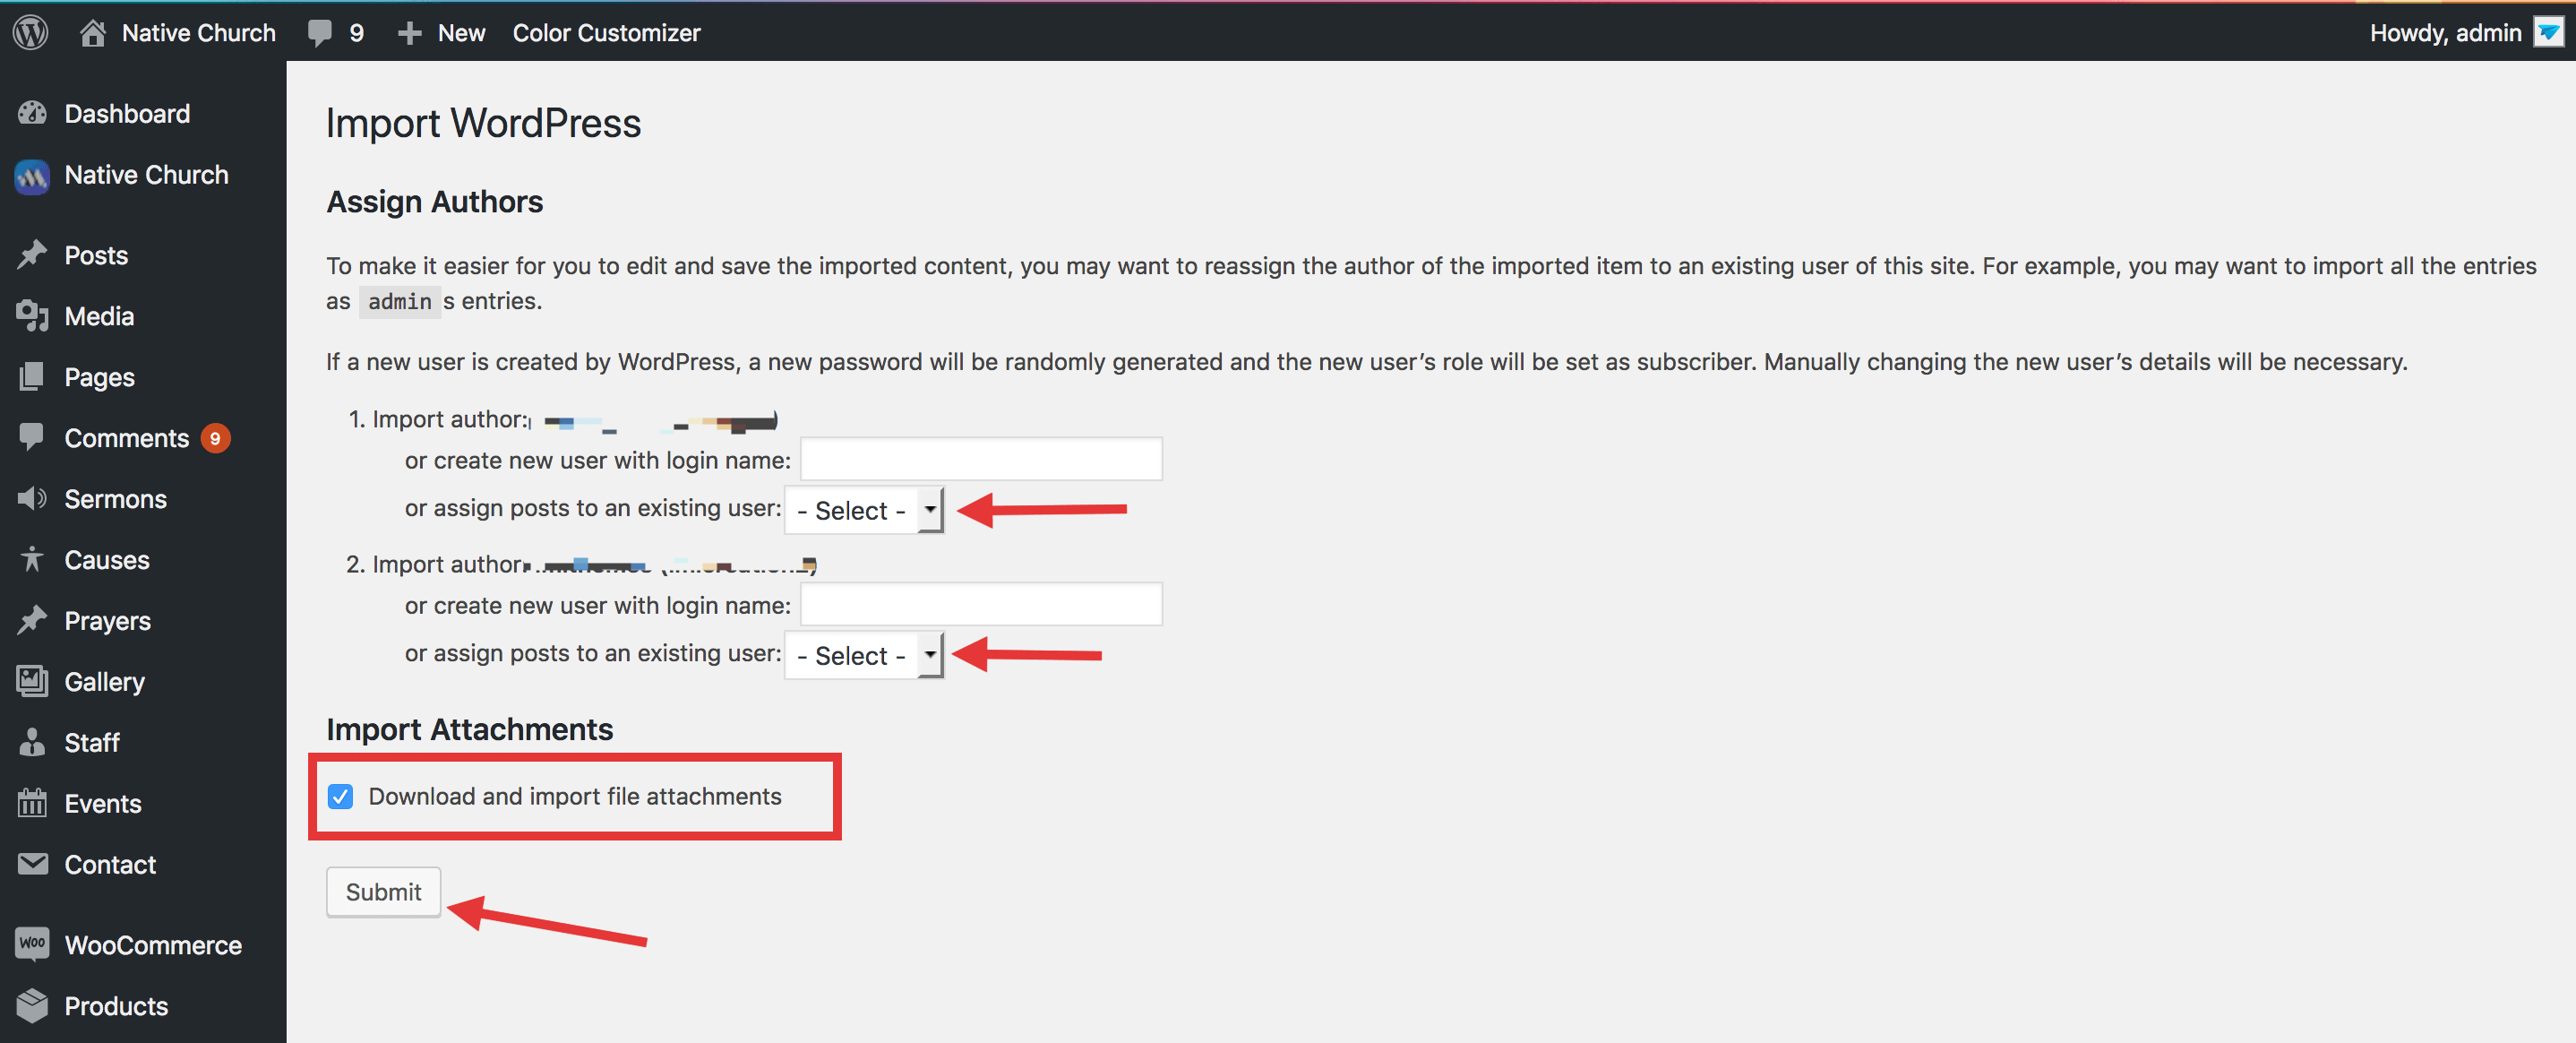
Step 3 : Once uploaded it will ask you to import the data into your WordPress user account select from the drop-down an existing user, also click on the check box that says “Download and import file attachments” Once complete all the data will be imported into your site. Do not interrupt/cancel the import process in between!
Step 4: After the demo content.xml file is imported the next step is to import the widgets used in the demo and for this you can find the widgets.wie file in your selected “Demo Content” folder. To import the widgets a new plugin is required “Widgets Importer & Exporter”. You can install this plugin from your WP Dashboard -> Plugins -> Add New.
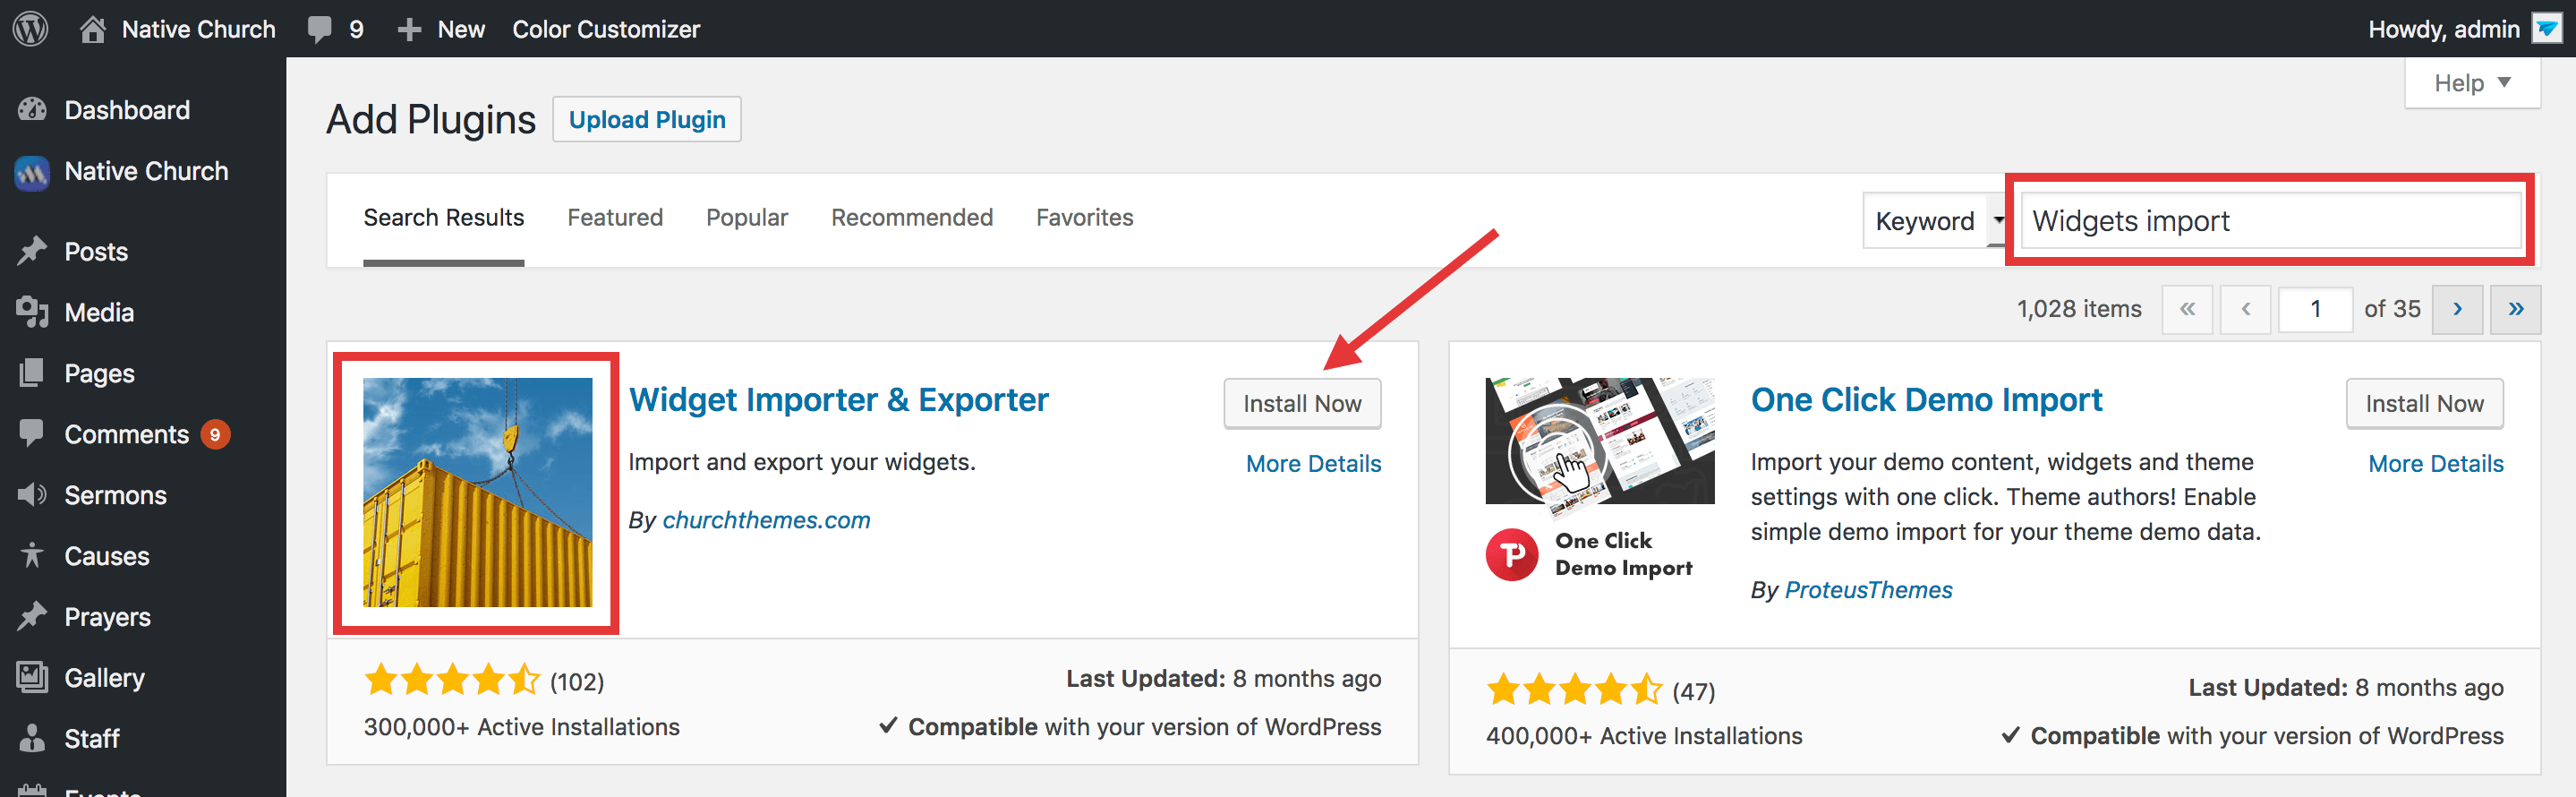
Once the plugin is installed and activated move to Tools -> Widgets Importer & Exporter and browse for “widgets.wie” file in your Demo Content folder

Step 5: The last thing to import is the theme style settings. To do so, move to your WP Dashboard => Elementor => Tools => Import/Export Kit. Click on Start Import and browse the file as available below for each demo.

Step 6: This step is to set the imported “Home” page as your website’s Front Page and “Blog” as the posts page. For this move to your WP Dashboard -> Settings -> Reading page

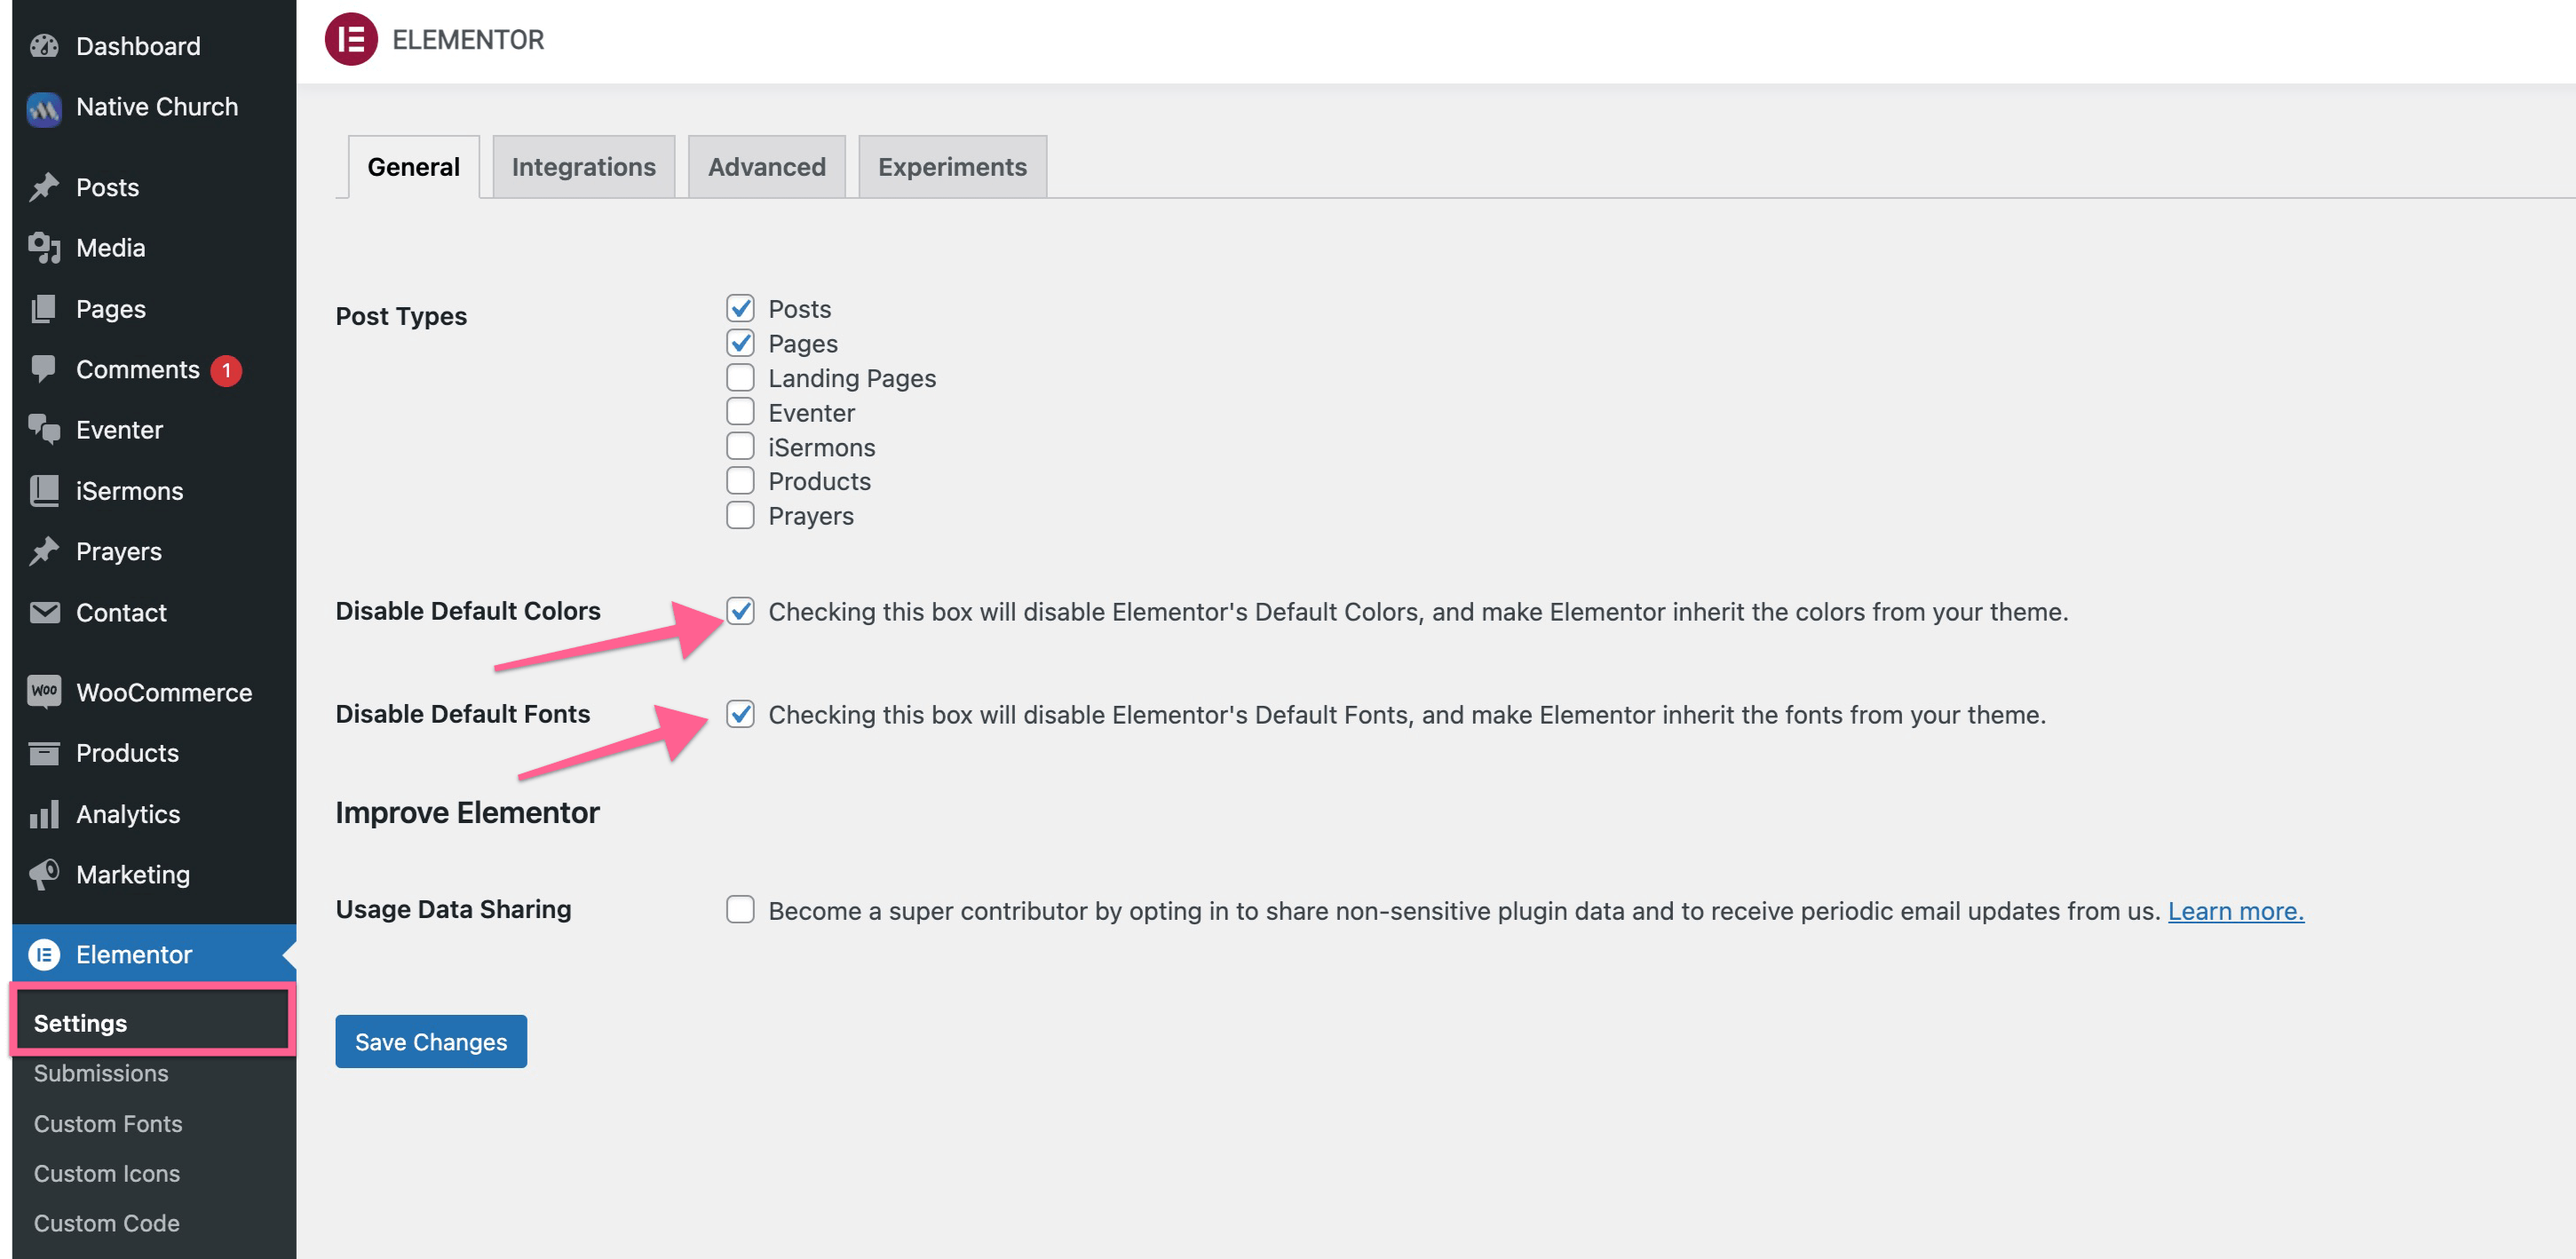
Step 7: Move to your WP Dashboard -> Elementor -> Settings and check below options and save.
Header/Footer Fix:
Some users experience a broken layout for the header or footer after importing the new demos of the NativeChurch theme like the ‘Parish’ demo. There is a quick fix for the same. You can just go to ‘Theme Builder’ from your top admin bar from the website’s home or any other page. Click the header of the theme and ‘edit conditions’. Just save the builder once. See video: