This section of the documentation will guide you on how to create a Projects.
Step 1 : Log into your WordPress Dashboard and navigate to Projects > Add New
Step 2 : Enter your Project title in the upper field, and enter your Project body content in the main page editing box below it.
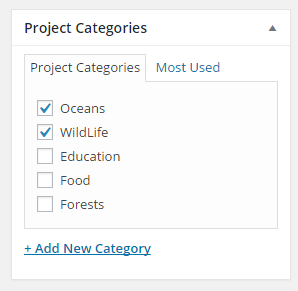
Step 3 : Create a category for your Project
Step 4 : Upload an image for your Featured Image

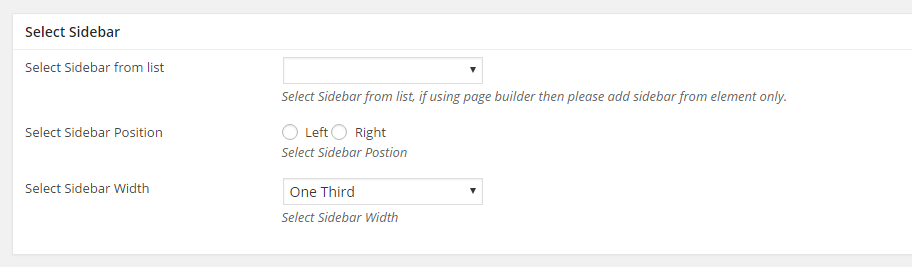
Step 5 : Select your preferred sidebar in the dropdown list and layout for the sidebar and content.
Step 6 : Project Details Meta
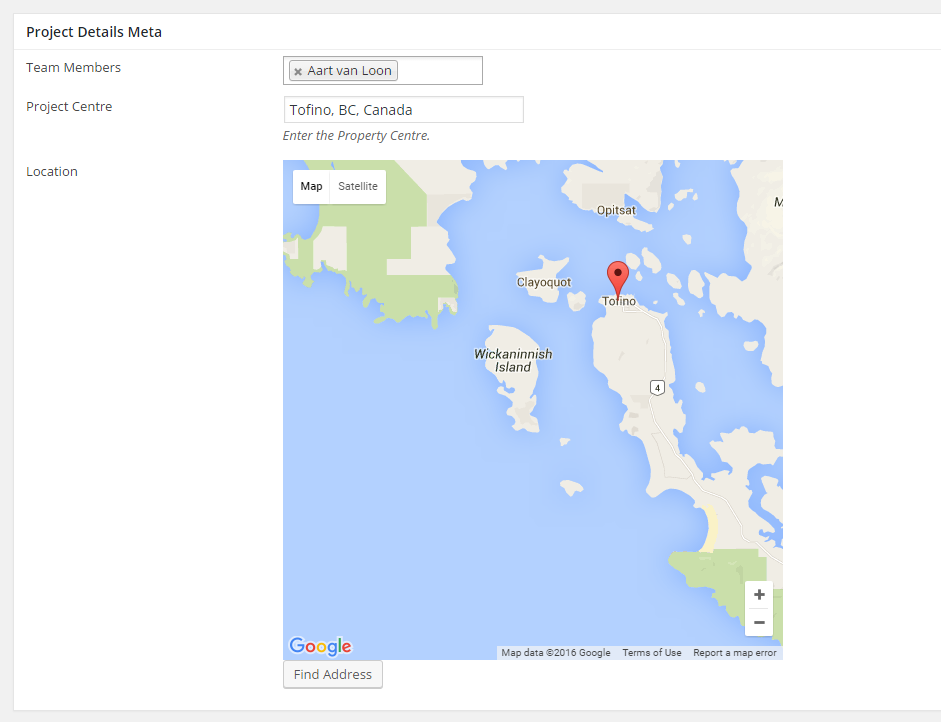
Team Members : Select Staffs
Project Centre : Enter the Property Centre.
Location : Find address
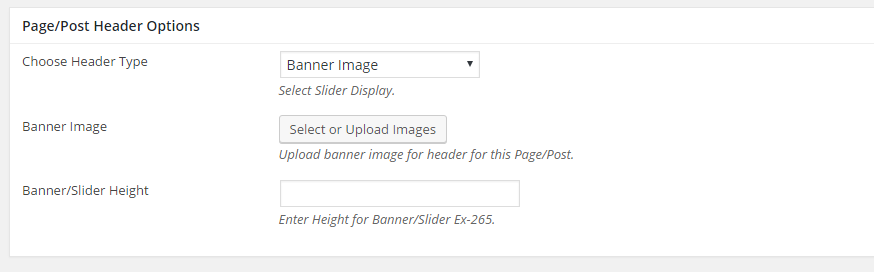
Step 7 : To customize the Page/Post Header Options. Please check Page / Post Header Options for more information.
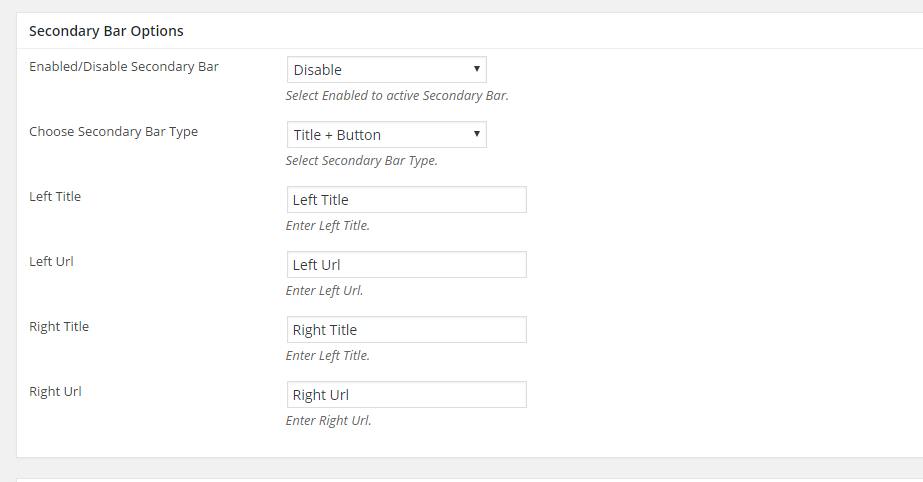
Step 8 : Secondary Bar Options
Enabled/Disable Secondary Bar : Select Enabled to active Secondary Bar.
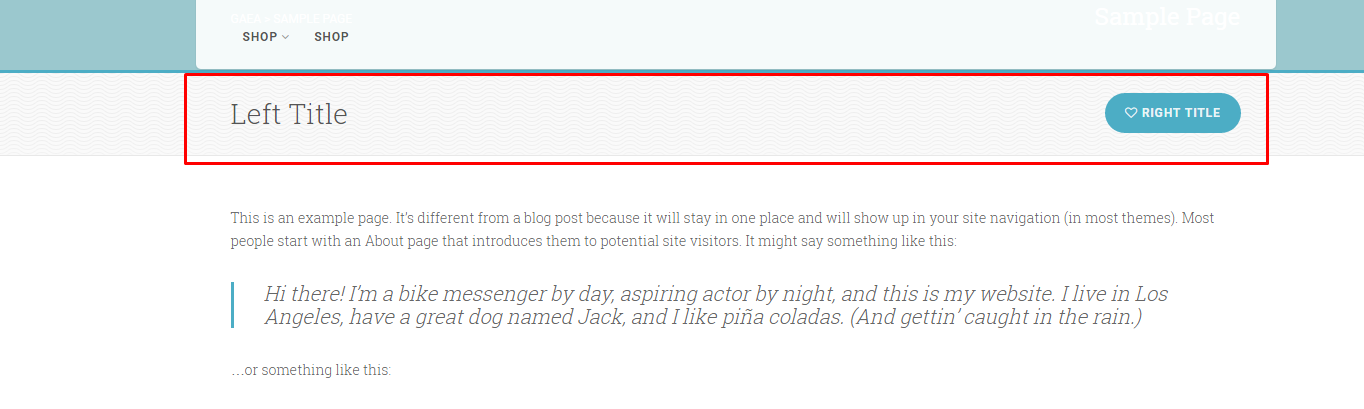
Choose Secondary Bar Type : Title + Button
Left Title : Enter Left Title.
Left Url : Enter Left Url.
Right Title : Enter Left Title.
Right Url : Enter Right Url.
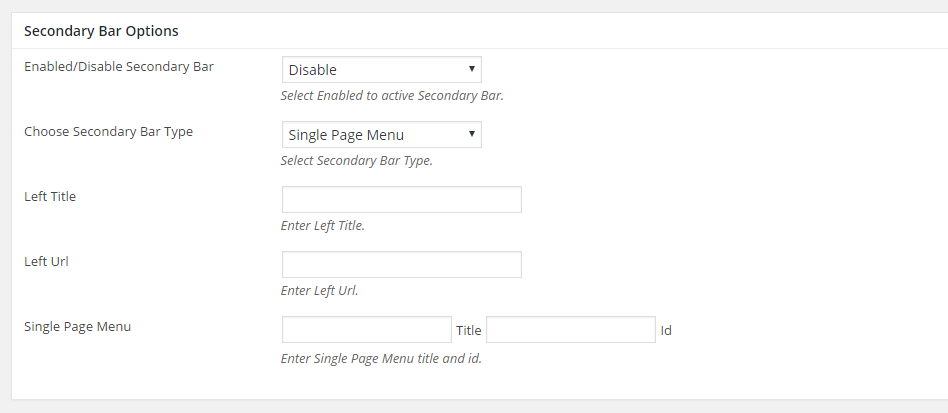
Choose Secondary Bar Type : Single Page Menu
Left Title : Enter Left Title.
Left Url : Enter Left Url.
Single Page Menu : Enter Single Page Menu title and id.
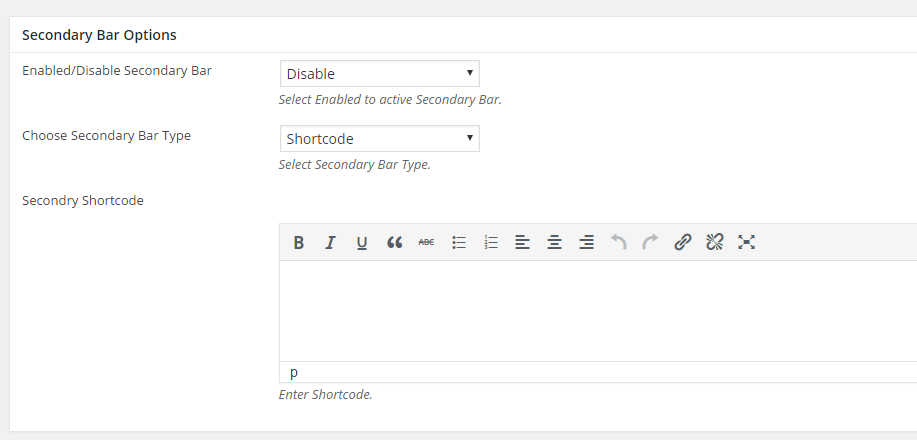
Choose Secondary Bar Type : Shortcode
Secondry Shortcode : Enter Shortcode.
Step 9 : Insert your optional excerpt