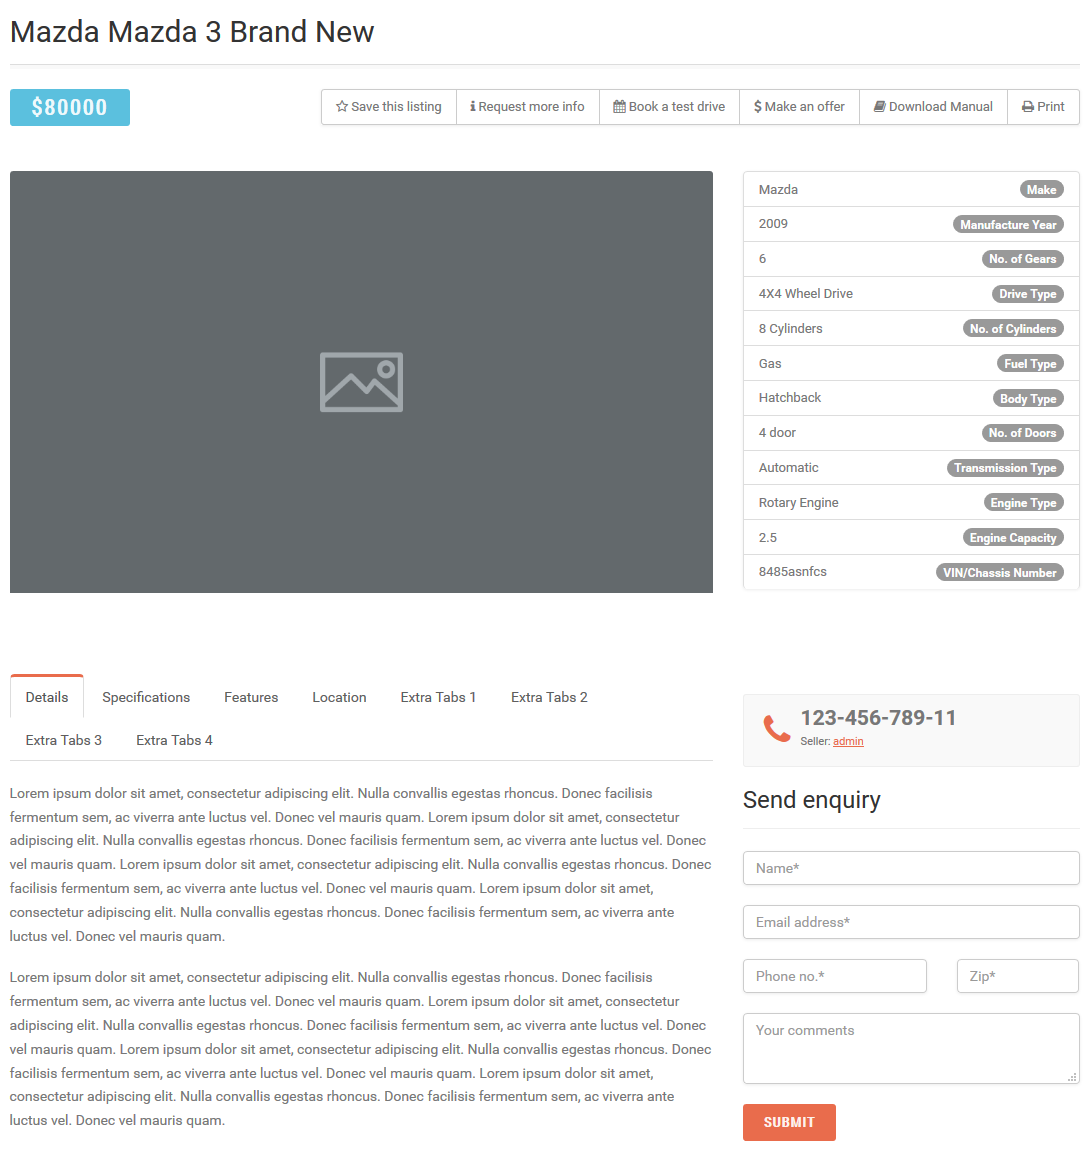
This section of the documentation will guide you on how to create a listing
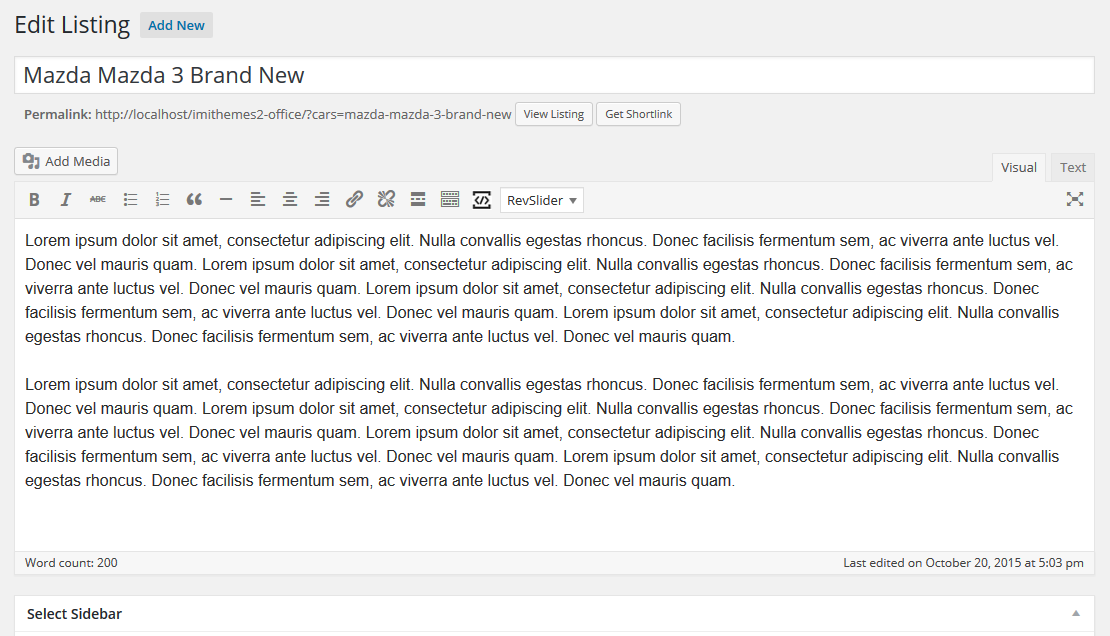
Step 1 : Log into your WordPress Dashboard and navigate to Listings > Add New
Step 2 : Enter your listing title in the upper field, and enter your listing body content in the main page editing box below it.
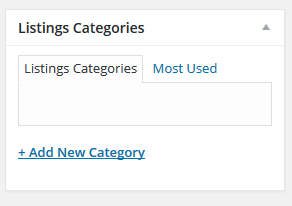
Step 3 : Create a category for your listing
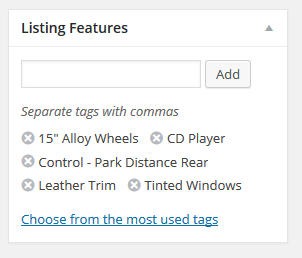
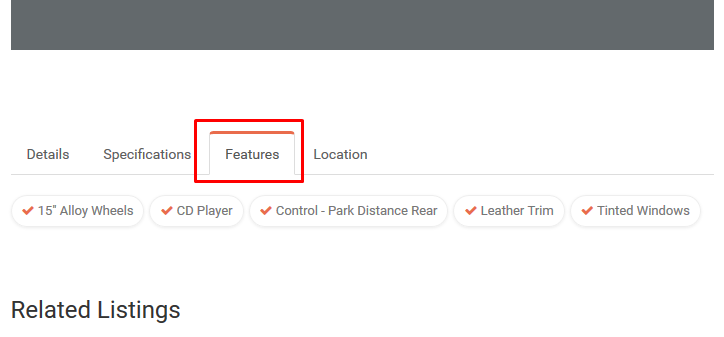
Step 4 : Insert listing features
Step 5 : Upload an image for your listing item
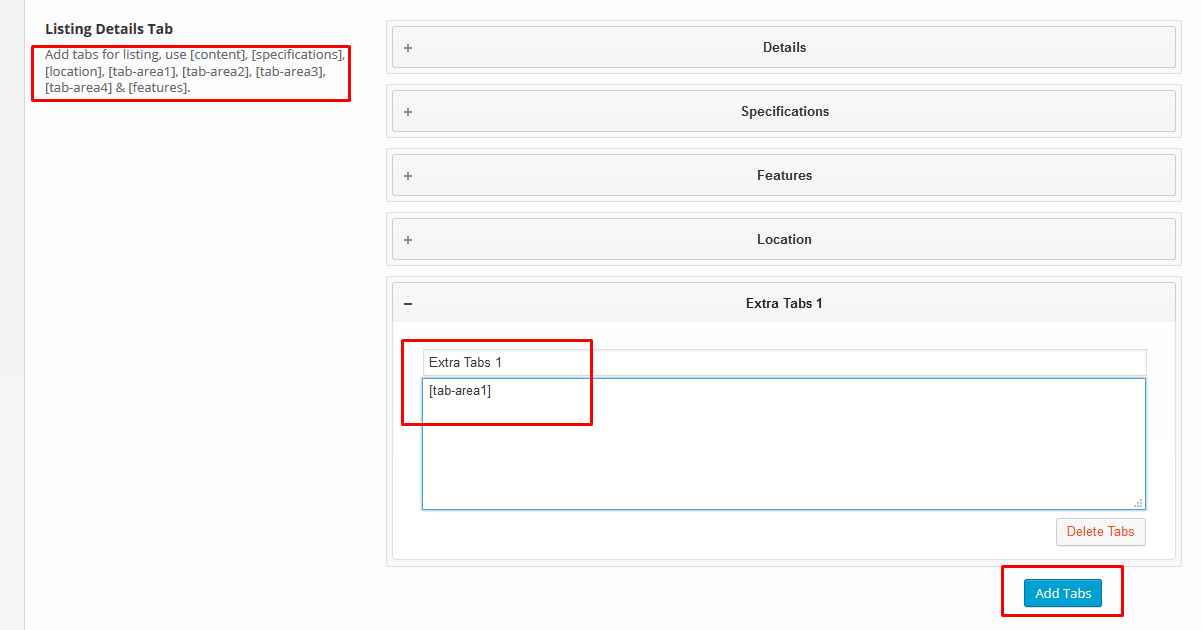
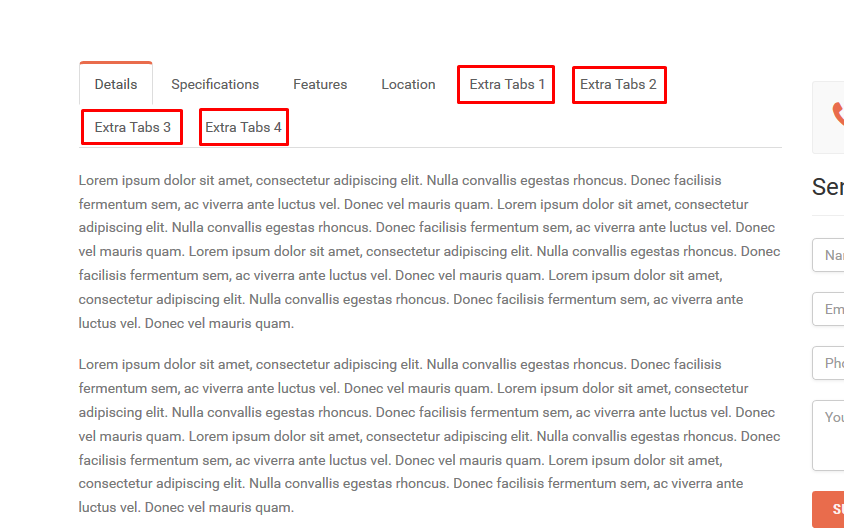
Step 6 : Extra Tabs
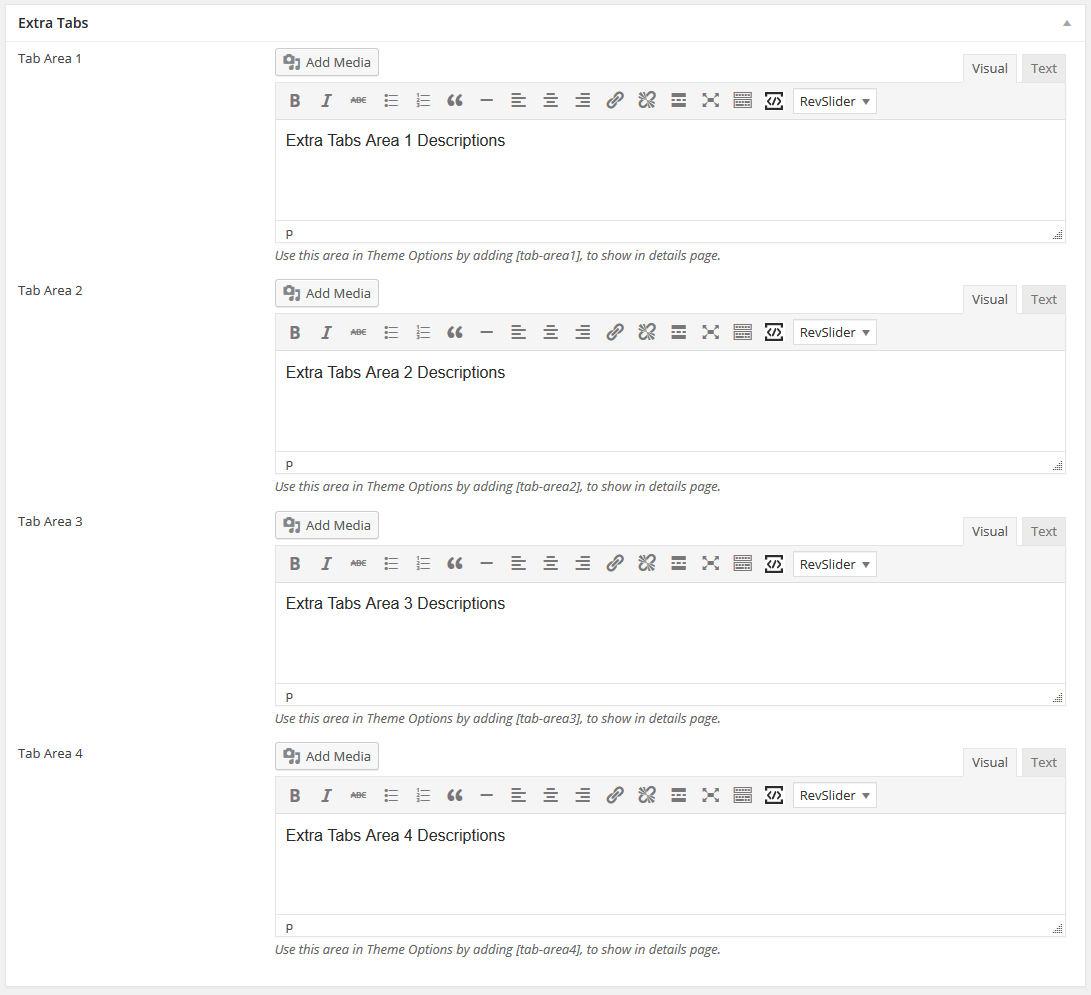
Tab Area 1 : Insert your tab area 1 content.
Tab Area 2 : Insert your tab area 2 content.
Tab Area 3 : Insert your tab area 3 content.
Tab Area 4 : Insert your tab area 4 content.
To display extra tabs on the listing, navigate to Theme Options > Listing Details > Listing Details Tab. Click “Add Tab” button and insert the tab shortcode follow by the tab number.
Step 7 : Additional Specifications
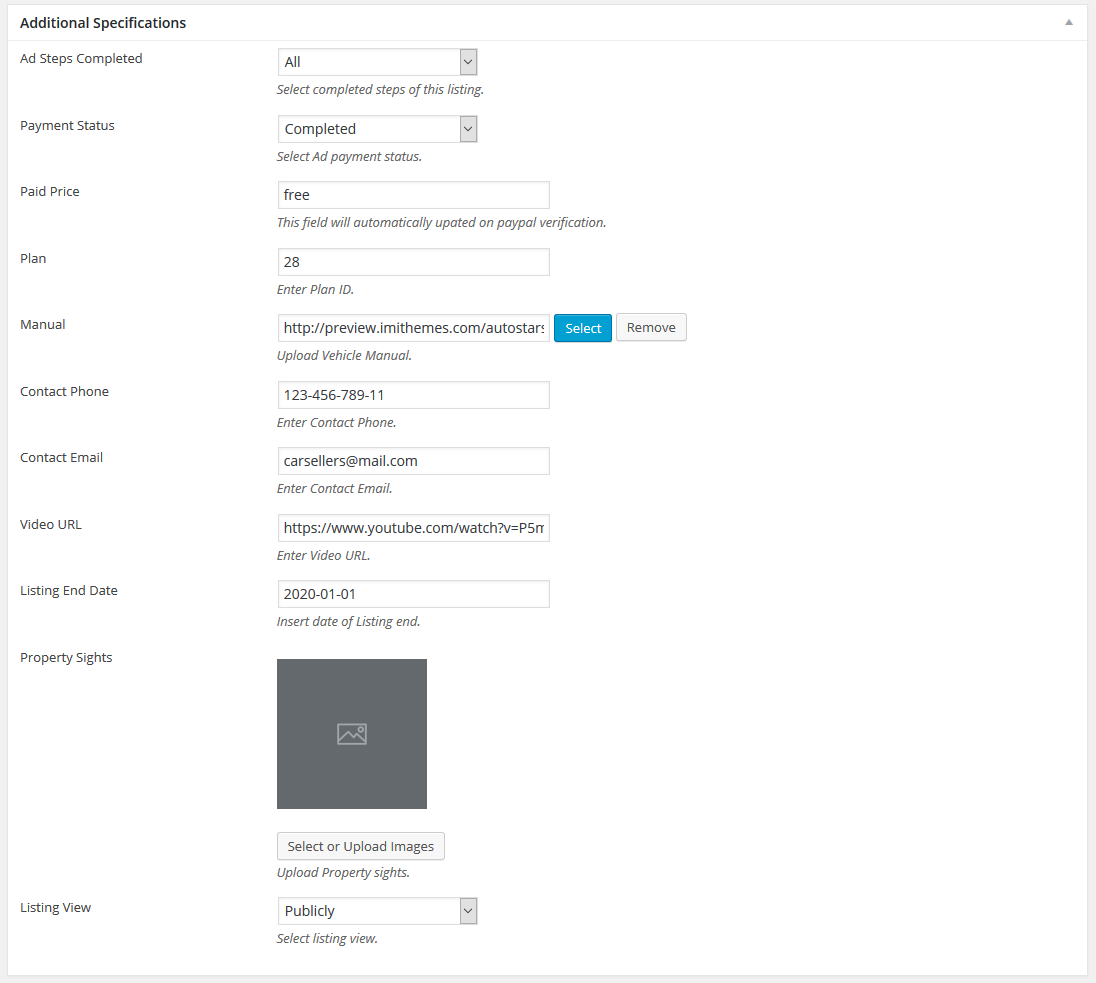
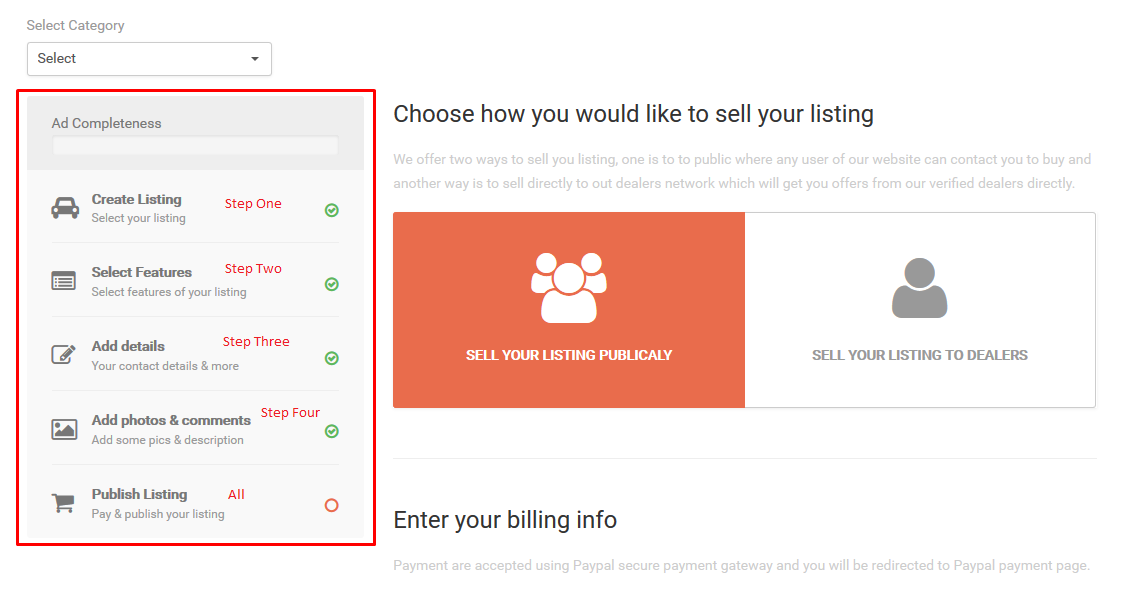
Ad Steps Completed : Select completed steps of this listing.
Payment Status : Select Ad payment status.
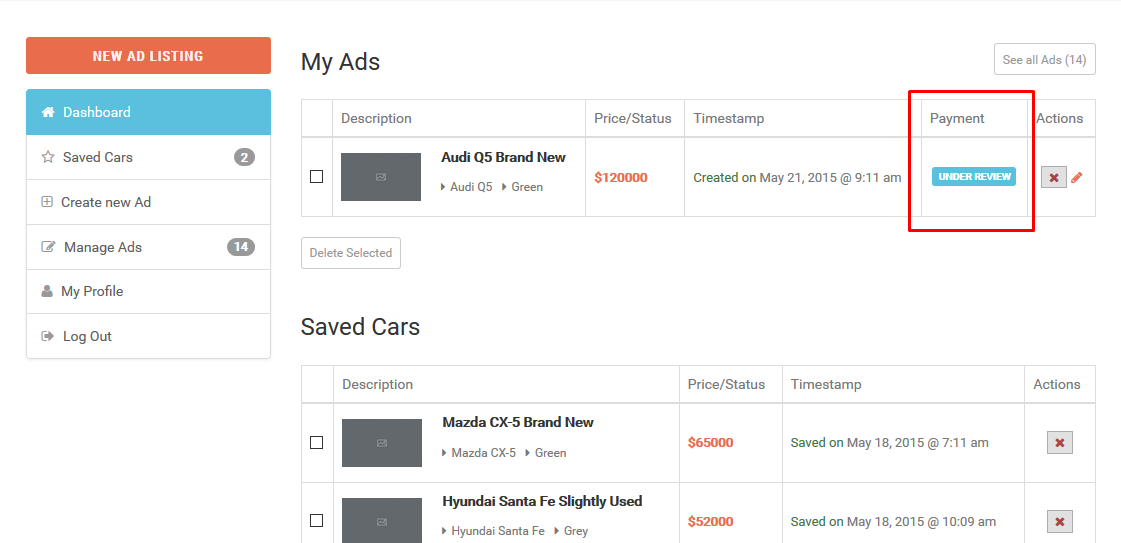
Paid Price : Enter the price for listing the ad.
Plan : Insert the plan ID.
Please check Create Plans for more information.
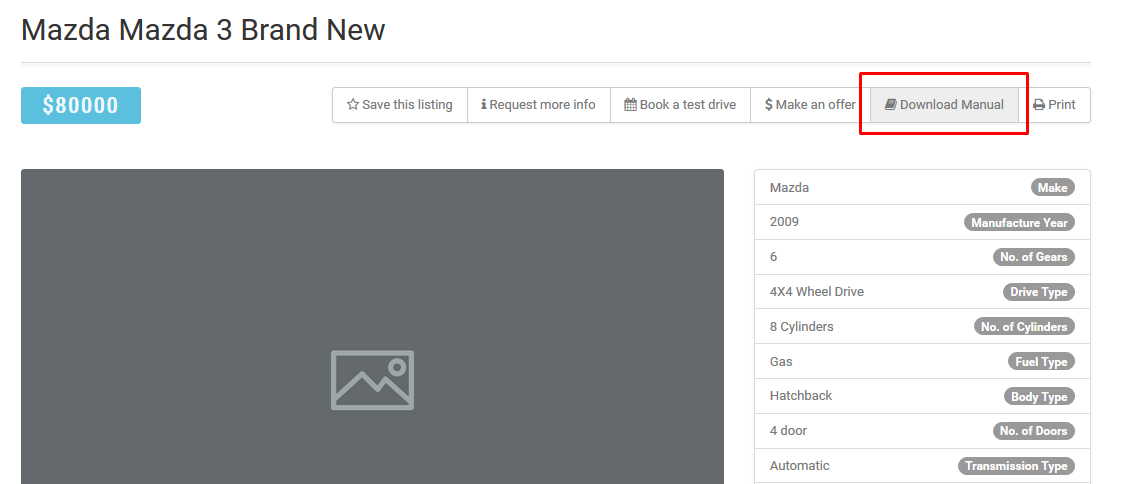
Manual : Upload the vehicle manual.
Contact Phone : Insert Contact Phone.
Contact Email : Insert Contact Email.
Video URL : Insert a Video URL.
Listing End Date : Insert a Listing end date.
Property Sights : Upload a Property sights image.
Listing View : Select display listing to public or dealers only.
Step 8 : Specifications
Please check Create Listing Specifications for more information.
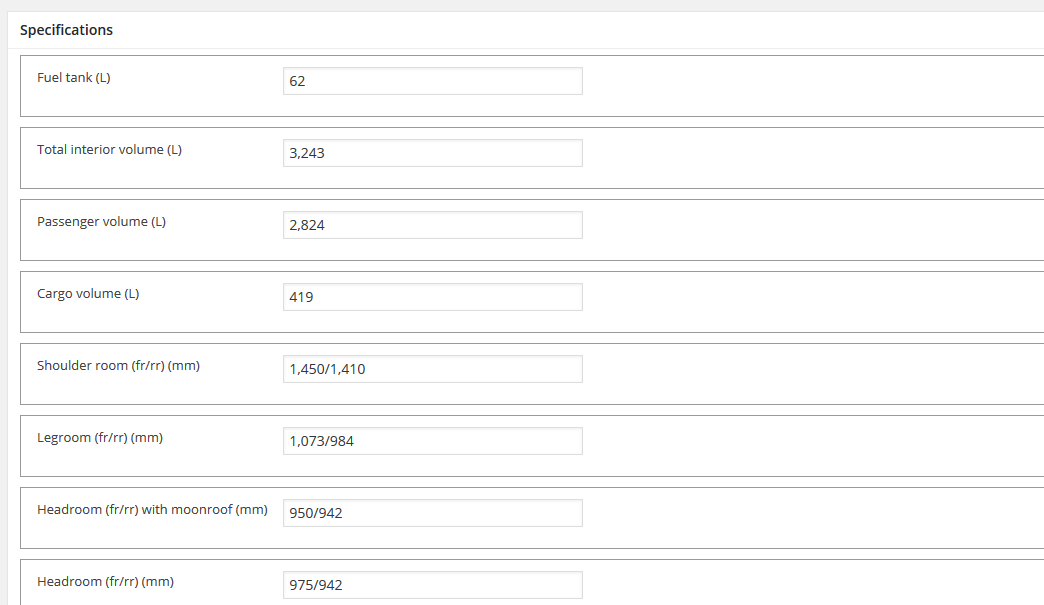
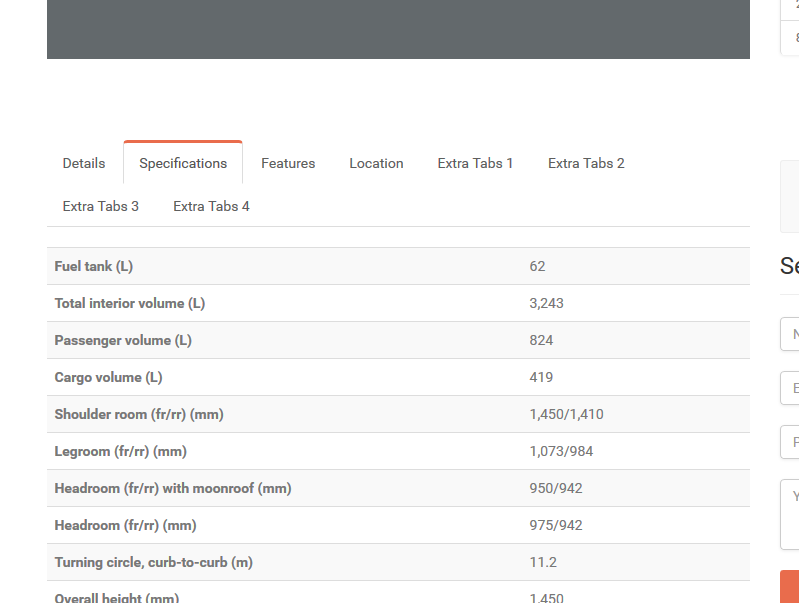
Fill in specifications of the vehicle.
Step 9 : Select your preferred sidebar in the dropdown list and layout for the sidebar and content.

Step 10 : To customize the Page/Post Header Options. Please check Page / Post Header Options for more information.
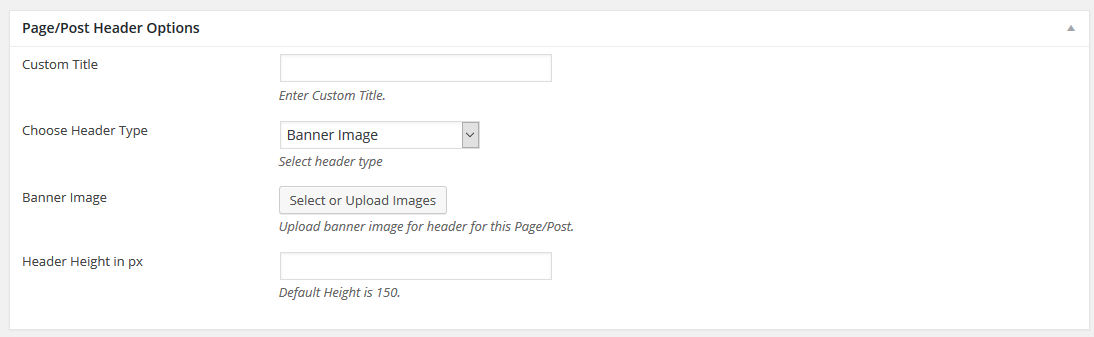
Step 11 : To customize the Secondary Bar. Please check Secondary Bar for more information.
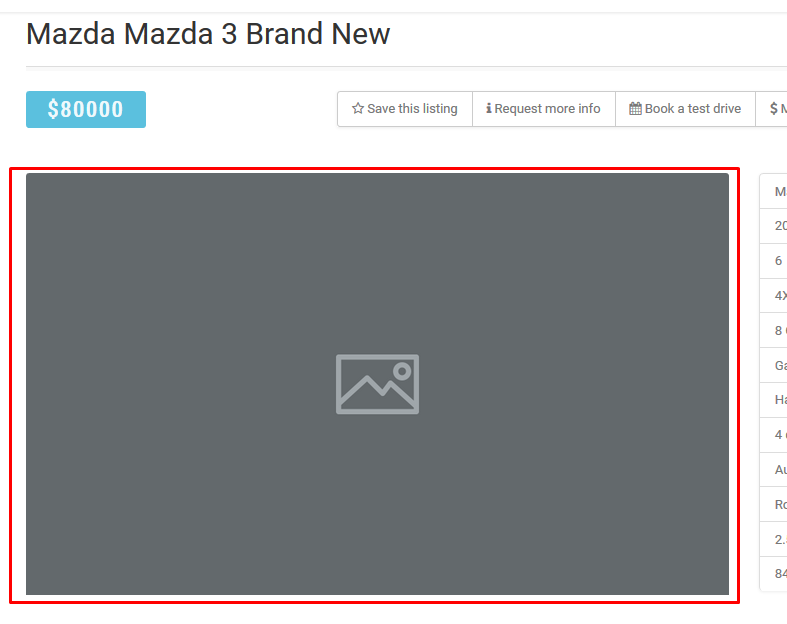
Step 12 : When you are finished, Update your page, it should looks like this.