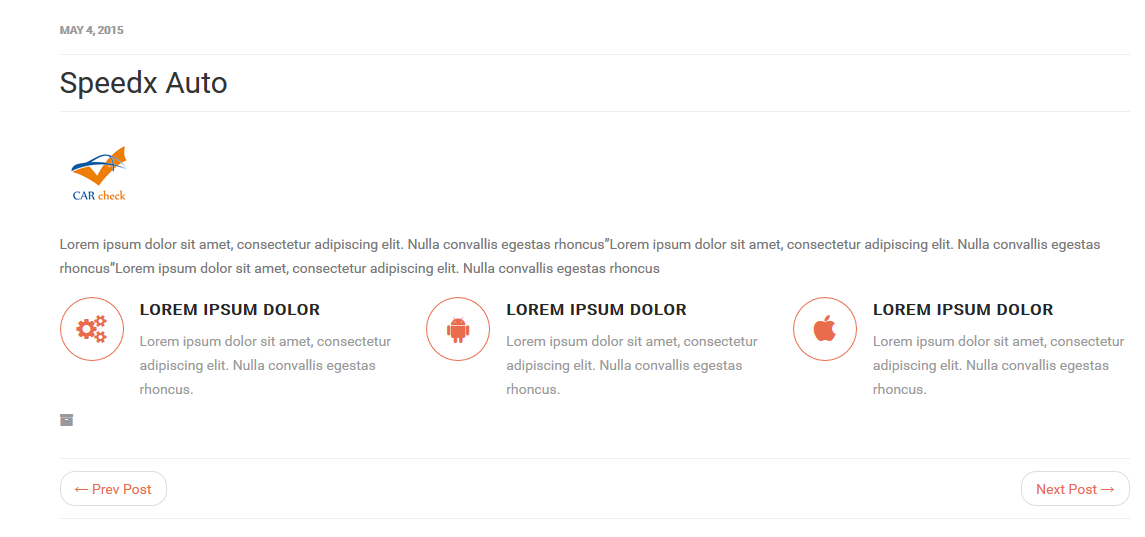
This section of the documentation will guide you on how to create a User Info.
Step 1 : Log into your WordPress Dashboard and navigate to Users Info > Add New
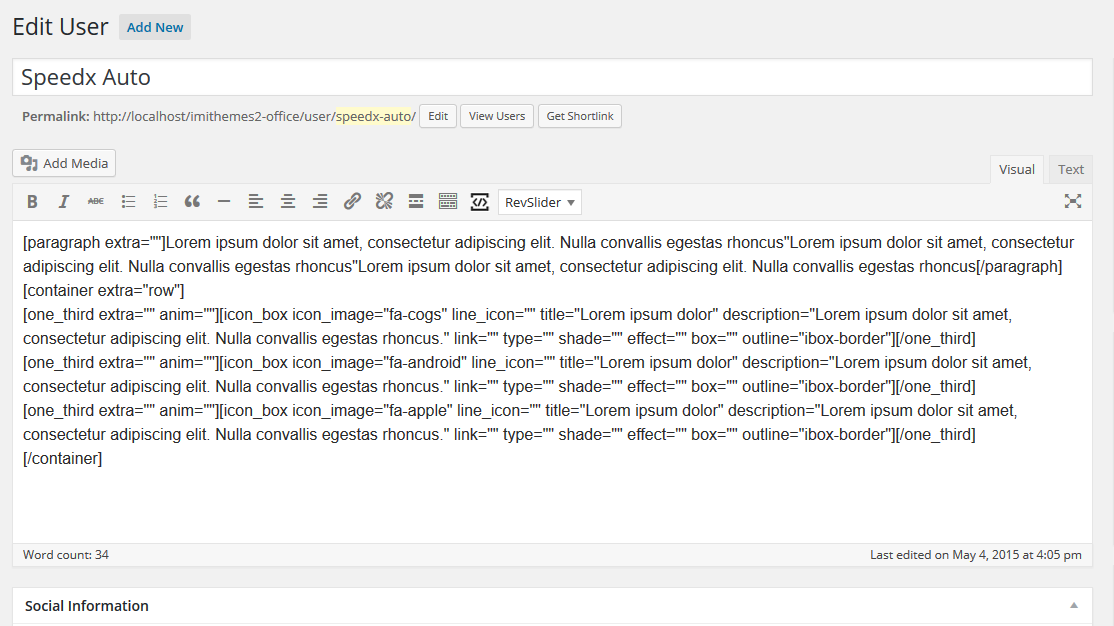
Step 2 : Enter the user name on title in the upper field, and enter your user info on the body content in the main page editing box below it.
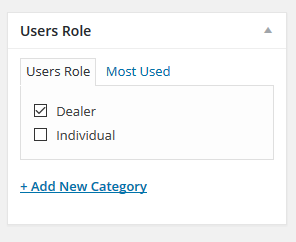
Step 3 : Select or insert a new role for this user
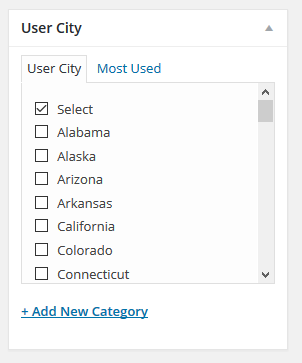
Step 4 : Select or insert a new city for this user
Step 5 : Upload an image for this user.
Step 6 : Social Information
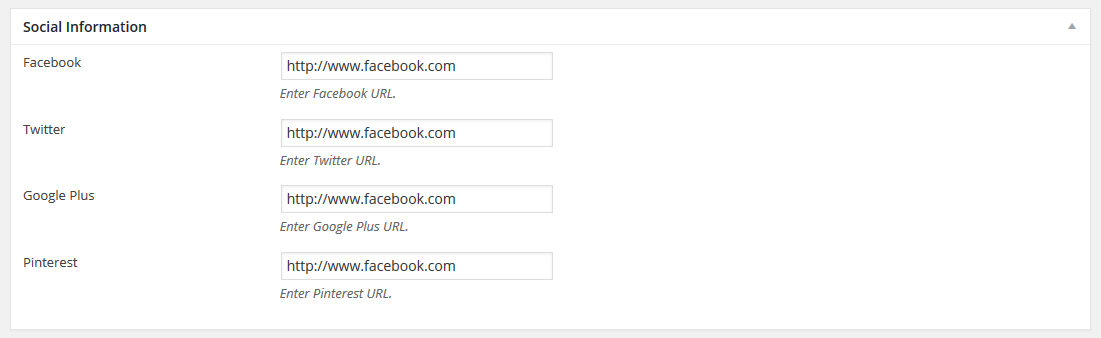
Facebook : Insert Facebook URL.
Twitter : Insert Twitter URL.
Google Plus : Insert Google Plus URL.
Pinterest : Insert Pinterest URL.
Step 7 : User Information
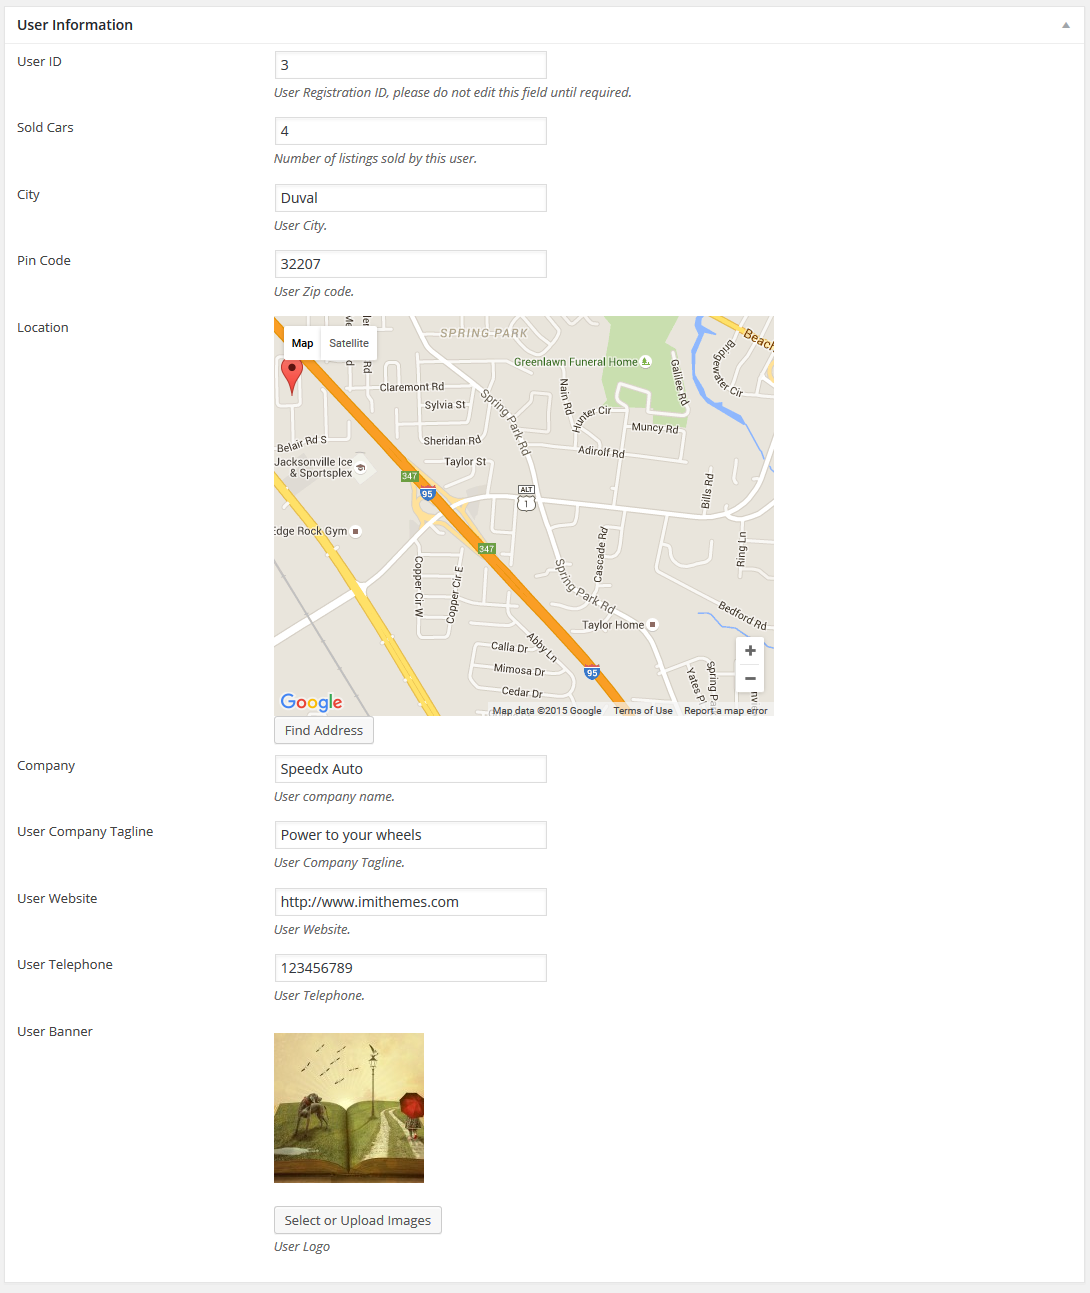
User ID : This is the user ID, do not modify it unless necessary.
Sold Cars : Number of listings sold by this user.
City : Insert User City.
Pin Code : Insert User Pin Code.
Location : Locate the Users Address on Google Map.
Company : Insert Company Name.
User Company Tagline : Insert Company Tagline.
User Website : Insert Website URL.
User Telephone : Insert User Telephone.
User Banner : Upload a logo for this user.
Step 8 : When you are finished, Update your post, it should looks like this.