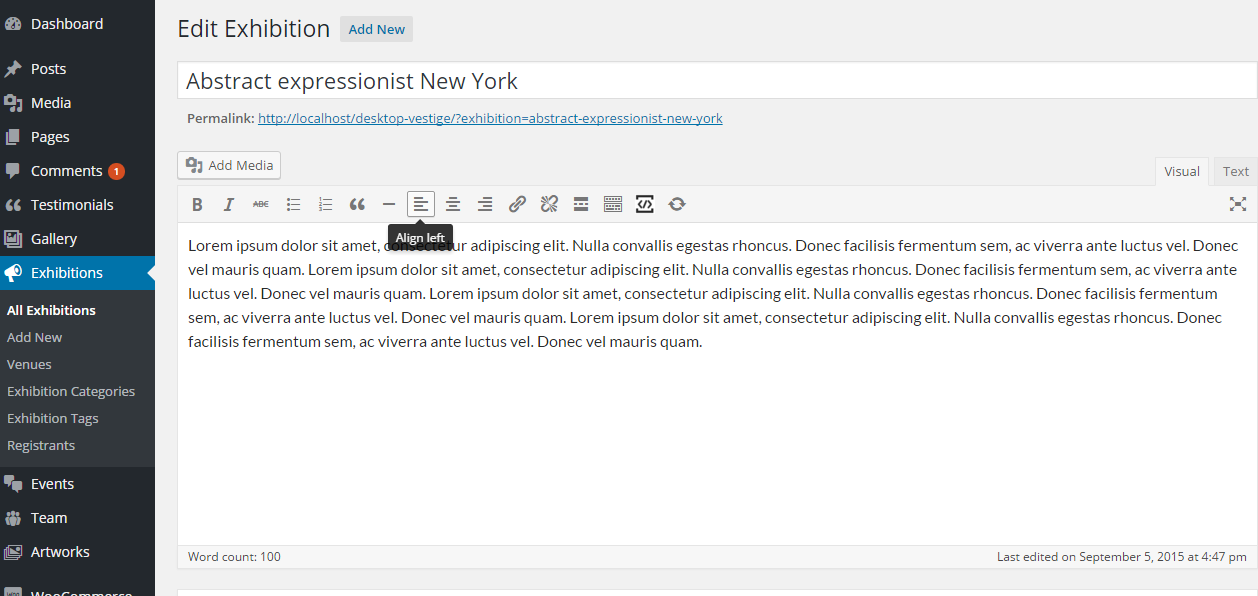
This section of the documentation will guide you on how to create an Exhibitions.
Step 1 : Log into your WordPress Dashboard and navigate to Exhibitions > Add New
Step 2 : Enter your exhibition name on upper field
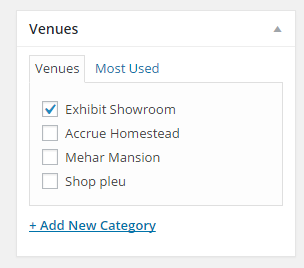
Step 3 : Add New Venue
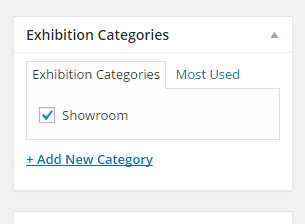
Step 4 : Add Exhibition Categories
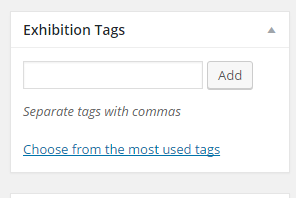
Step 5 : Add Exhibition Tags
Step 6 : Featured Image
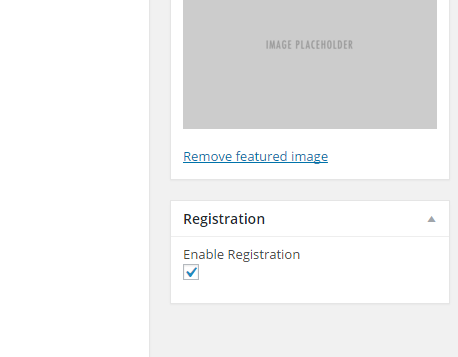
Step 7 : Registration
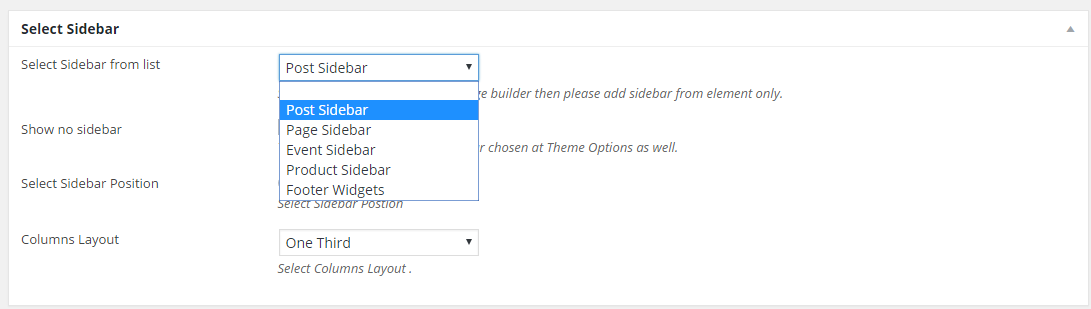
Step 8 : Select Sidebar
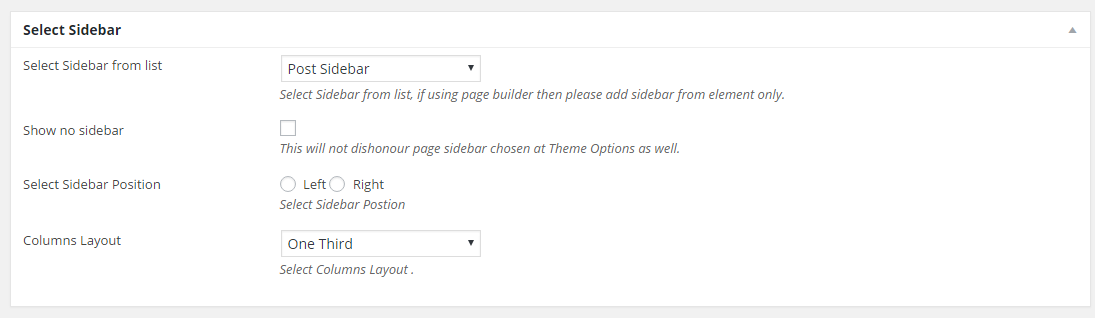
Select Sidebar from list : Select Sidebar from list, if using page builder then please add sidebar from element only.
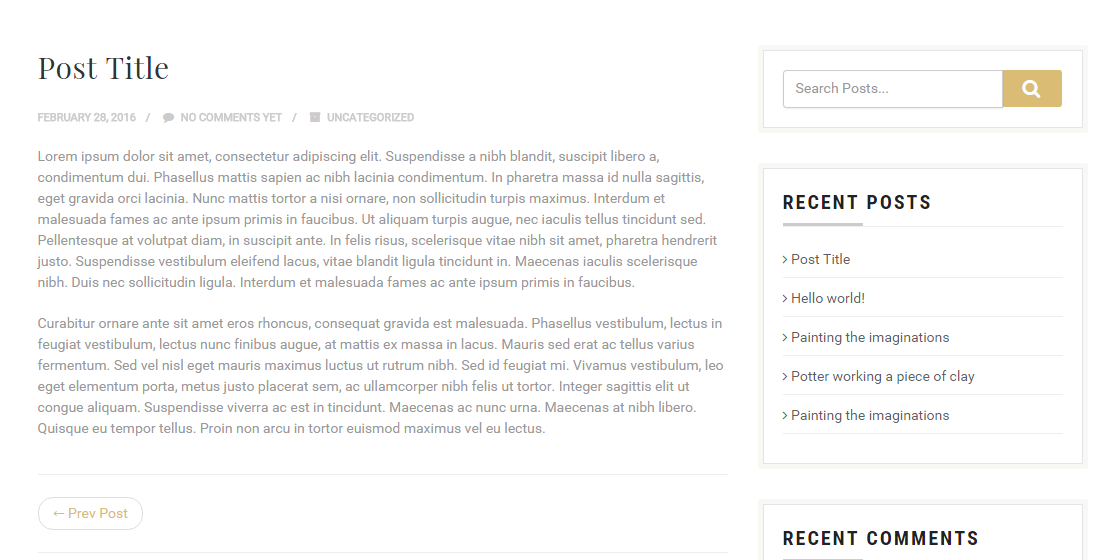
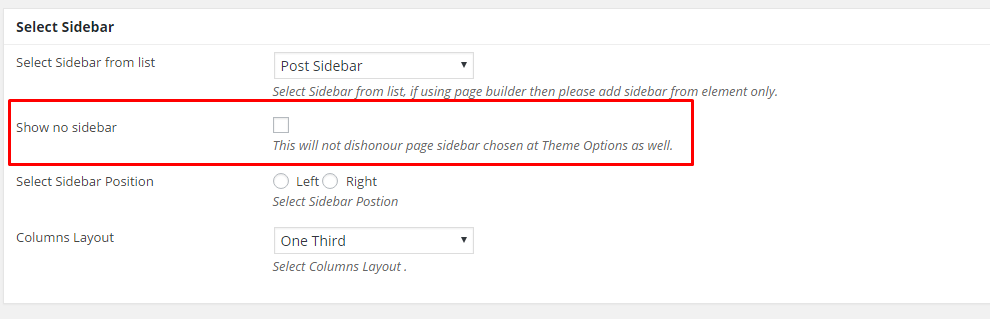
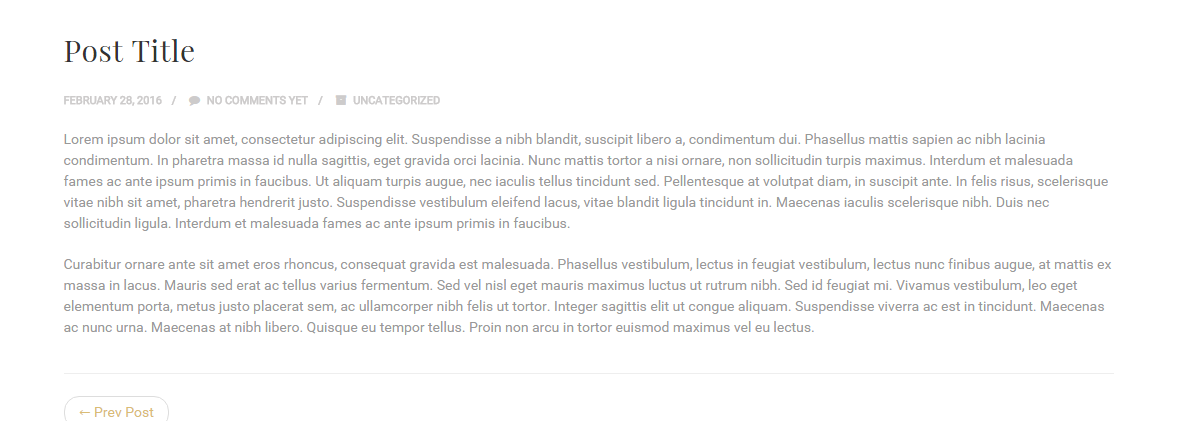
Show no sidebar : This will not dishonour page sidebar chosen at Theme Options as well.
Select Sidebar Position : Select Sidebar Postion
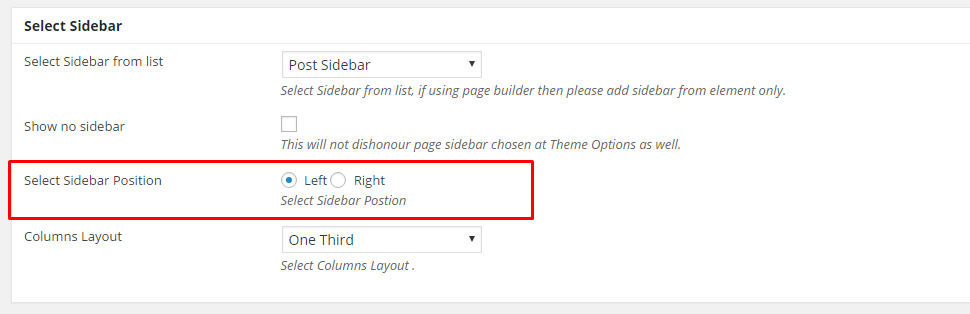
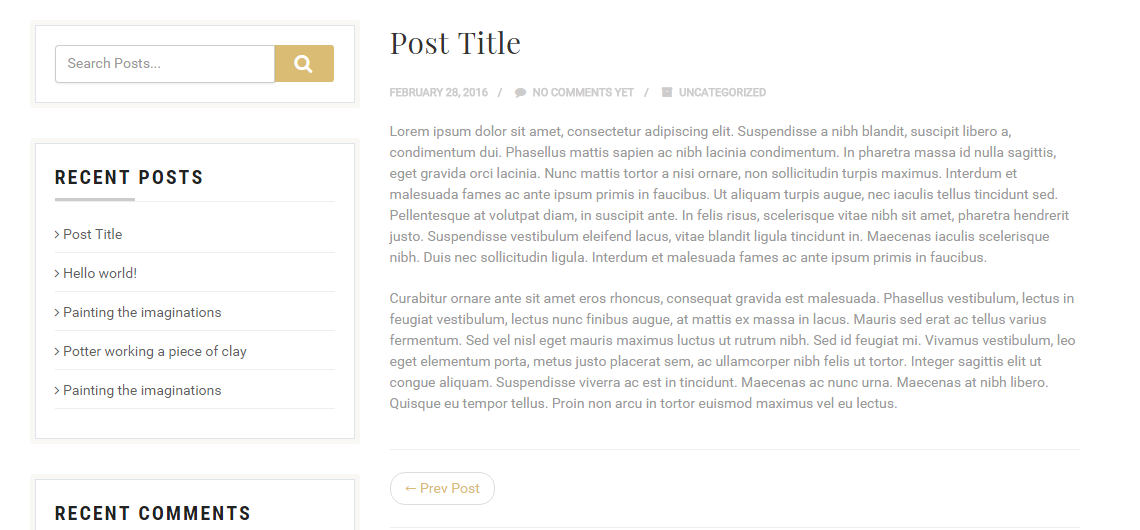
Columns Layout : Select Columns Layout .
One Fourth
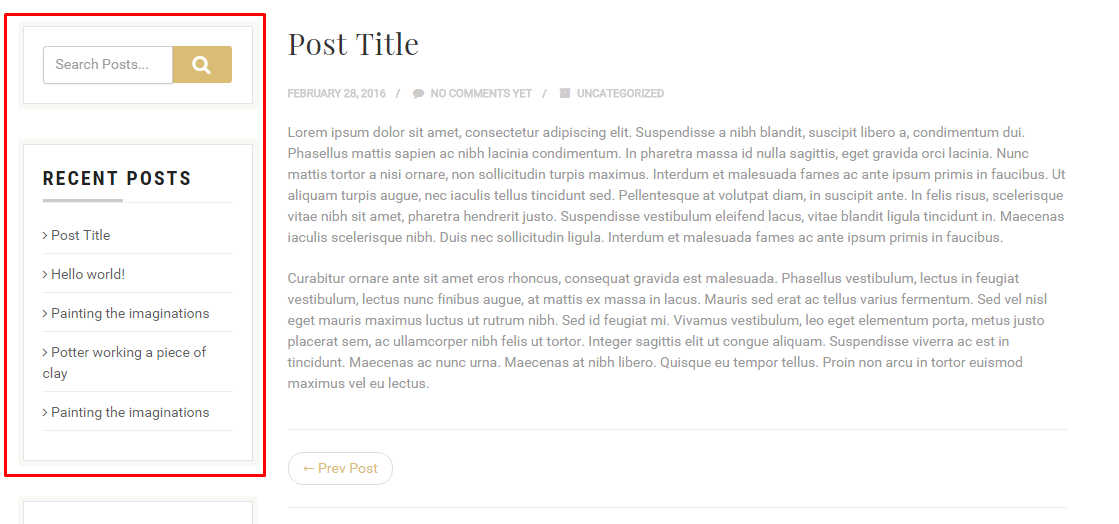
One Third
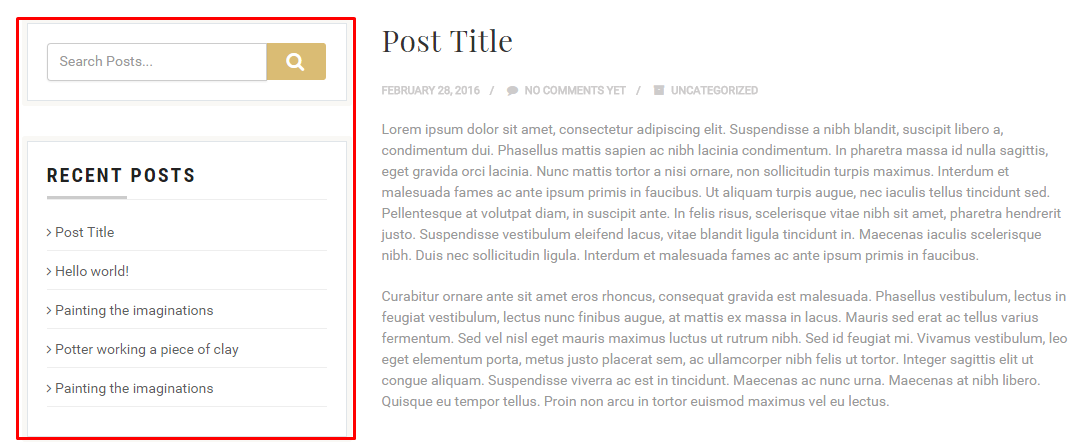
Half

Step 9 : Event Details Box
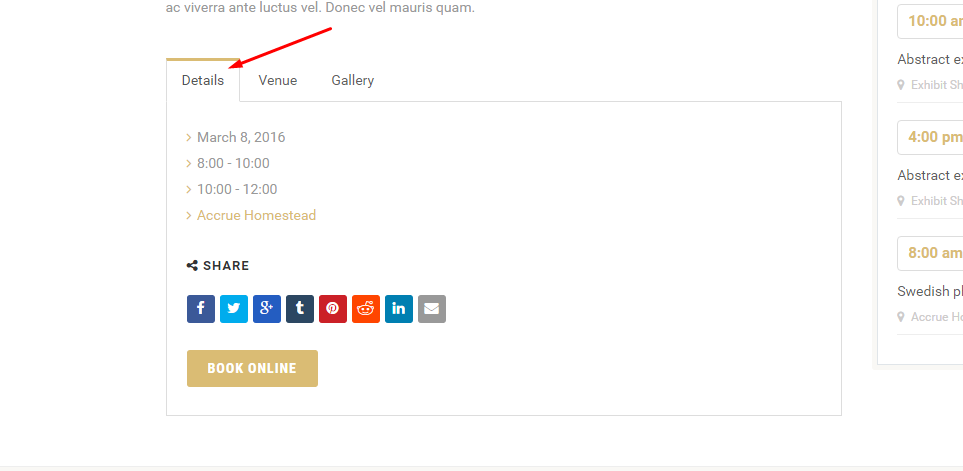
Details : Enable Details Tab.
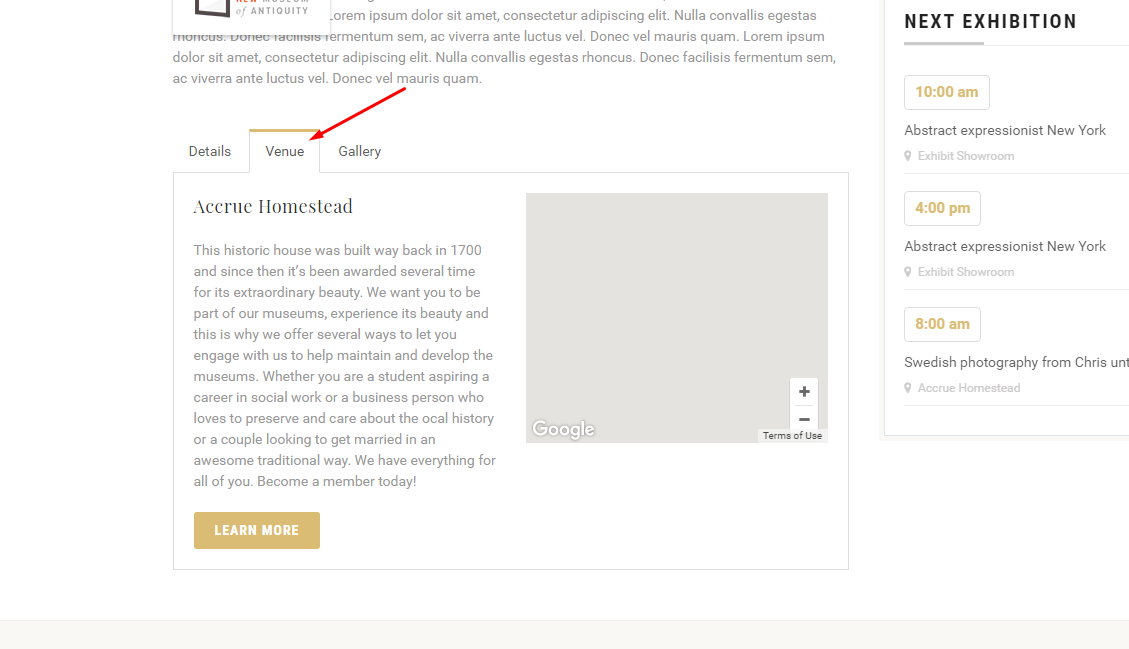
Venue : Enable Venue Tab.
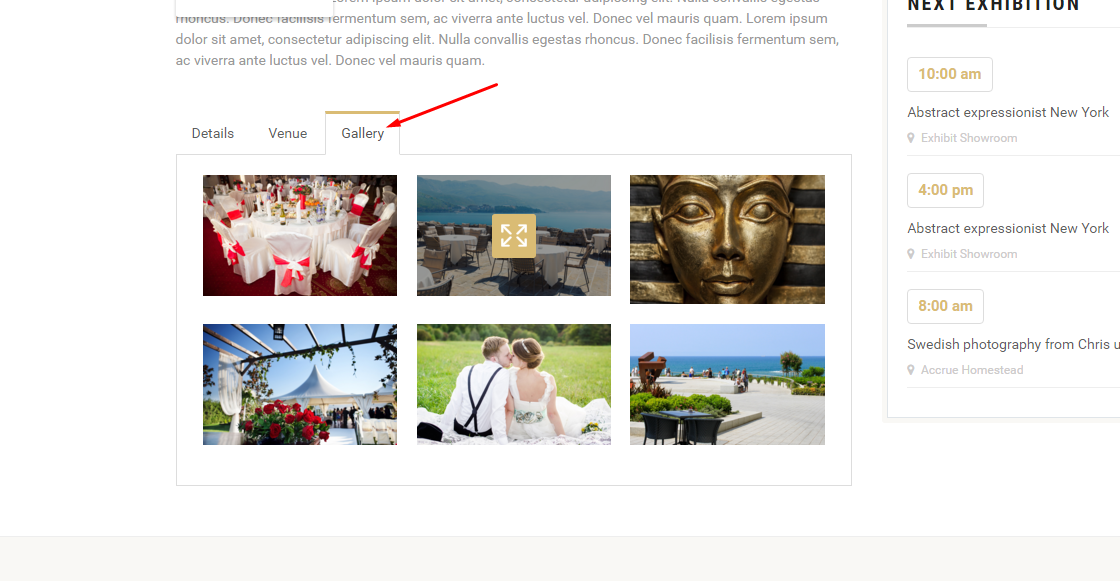
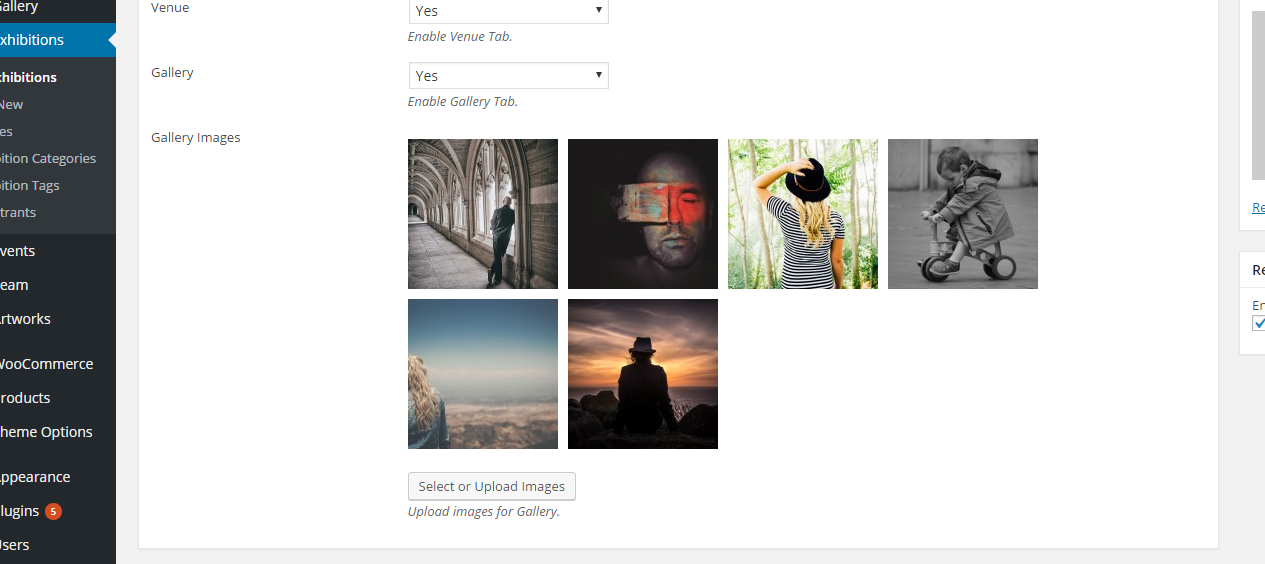
Gallery : Enable Gallery Tab.
Gallery Images : Upload images for Gallery.
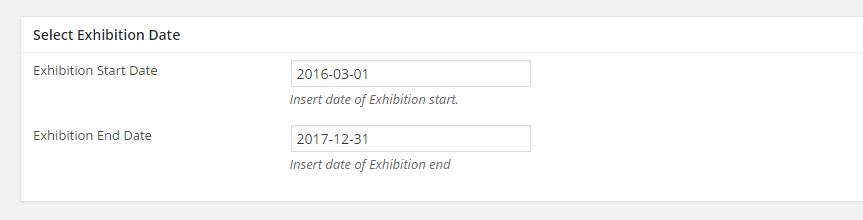
Step 10 : Select Exhibition Date
Exhibition Start Date : Insert date of Exhibition start.
Exhibition End Date : Insert date of Exhibition end
Step 11 : Exhibition Tickets Type
Add Ticket : Insert the information required

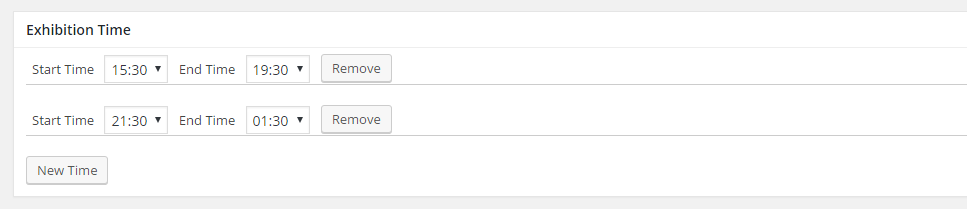
Step 12 : Exhibition Time
Exhibition Start Time : Insert Exhibition start time.
Exhibition End Time : Insert Exhibition end time
Step 13 : Page/Post Header Options. Please check Page / Post Header Options for more information.
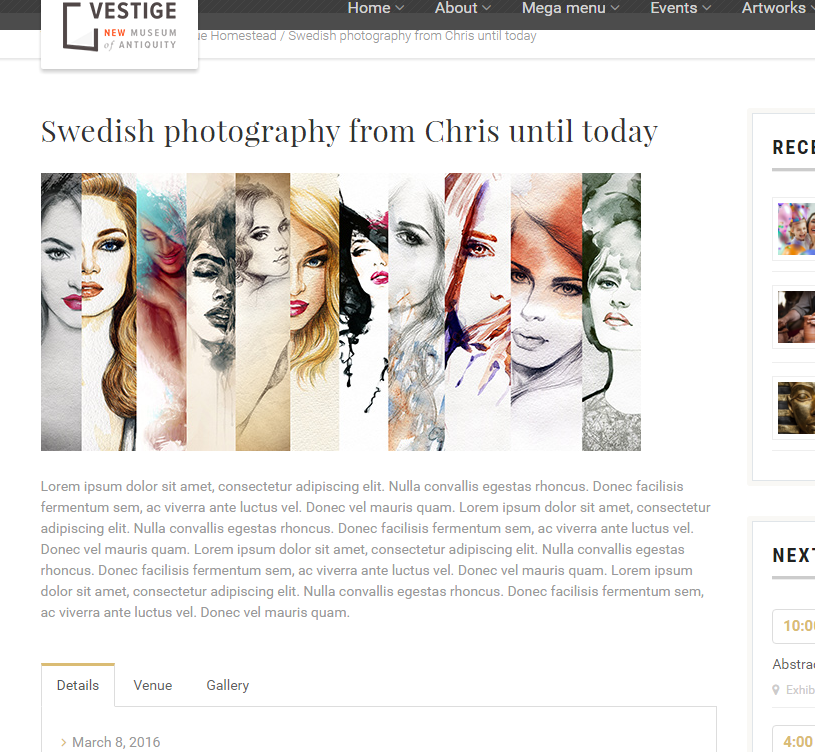
Step 14 : When you are done, go ahead and update your page and it should look like this.