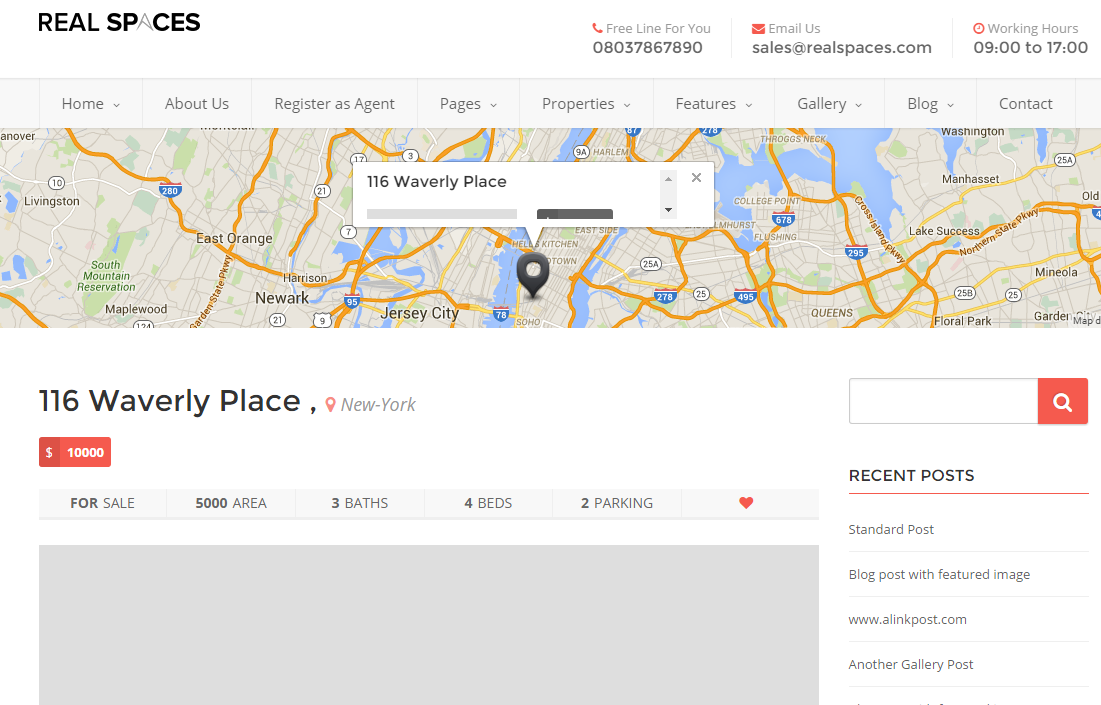
This section of the documentation will guide you on how to create a property post.
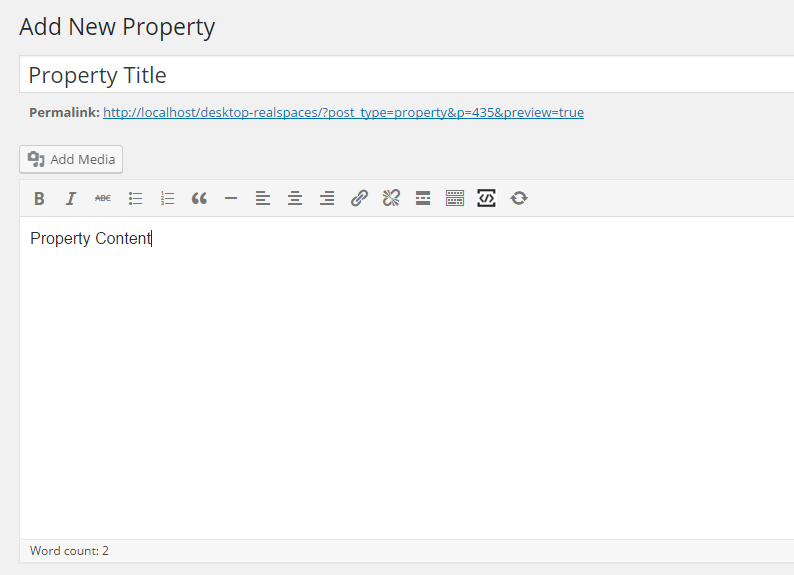
Step 1 : Log into your WordPress Dashboard and navigate to Properties > Add New
Step 2 : Enter your property title in the upper field, and enter your property body content in the main page editing box below it.
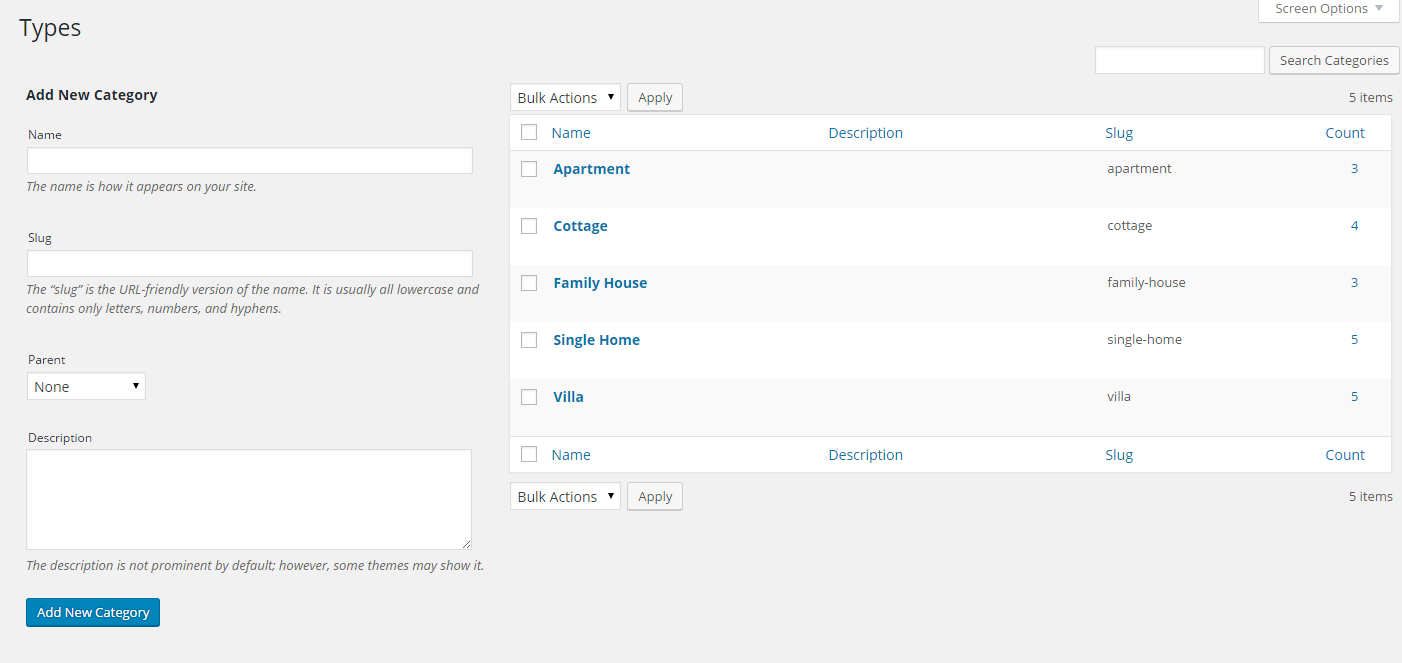
Step 3 : Navigate to Properties > Types to create a new property type.
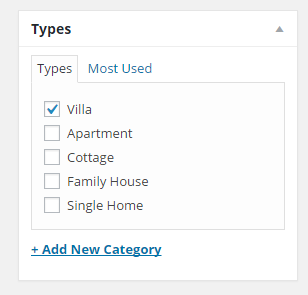
Step 4 : Go back to your property post and choose a type for your Property
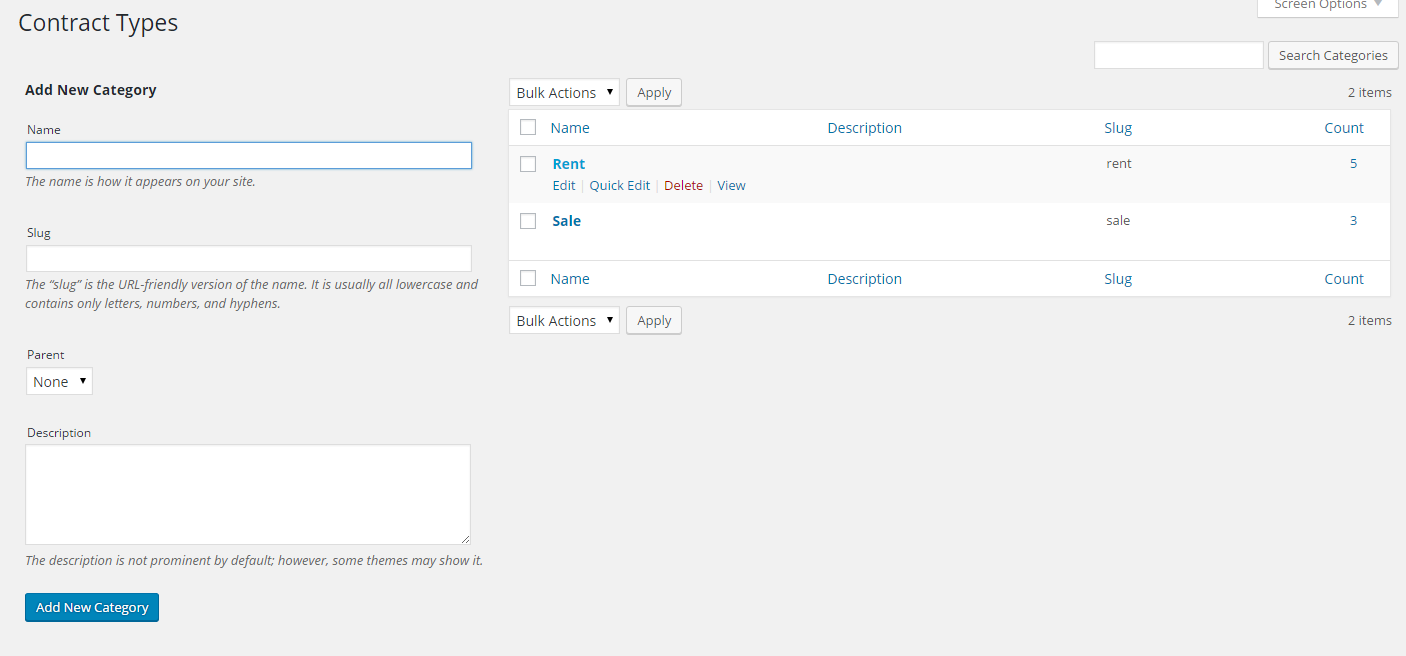
Step 5 : Navigate to Properties > Contract Types to create a new contract type.
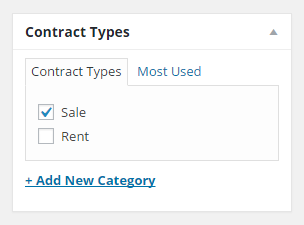
Step 6 : Go back to your property post and choose a contract type for your Property
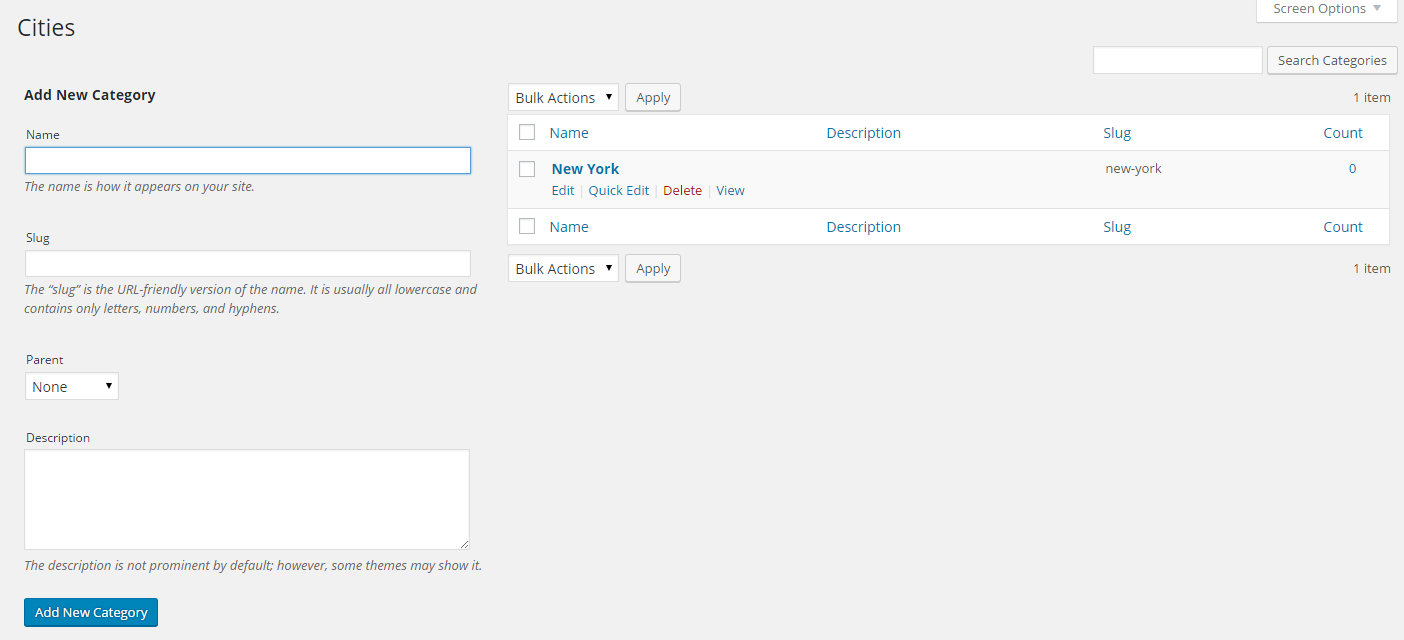
Step 7 : Navigate to Properties > Cities to create a new city.
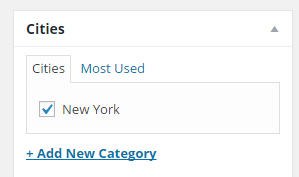
Step 8 : Go back to your property post and choose a city for your Property
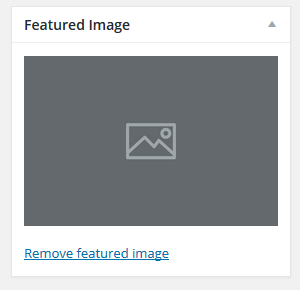
Step 9 : Upload a Feature image
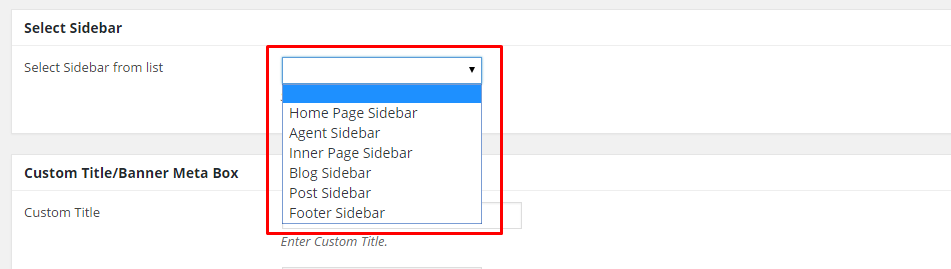
Step 10 : Select your preferred sidebar in the dropdown list and position to show on your post. Leave empty for default settings
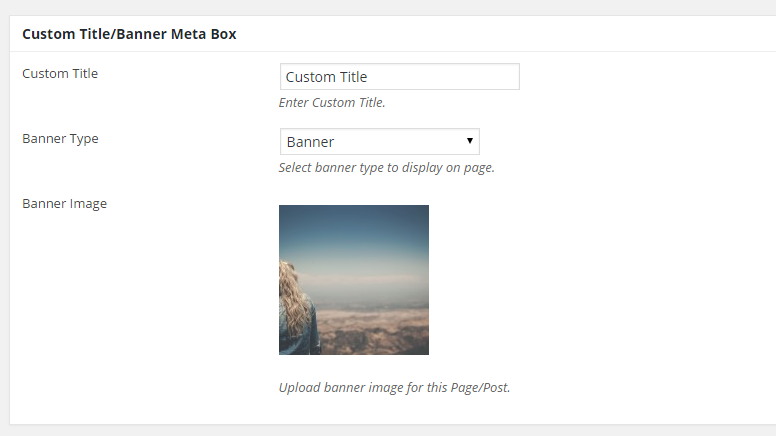
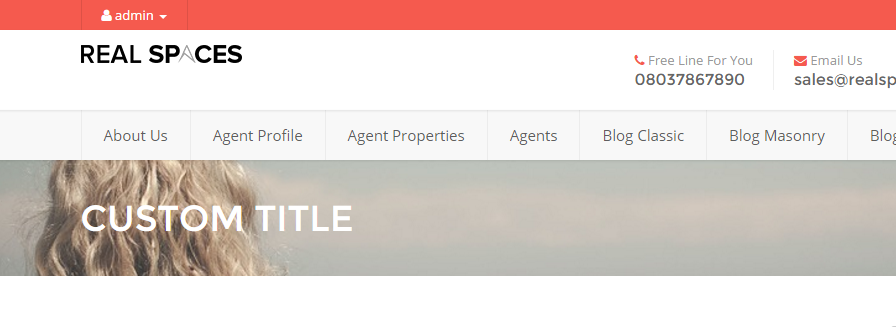
Step 11 : Insert a custom title and choose a banner type.
Step 12 : Property Details
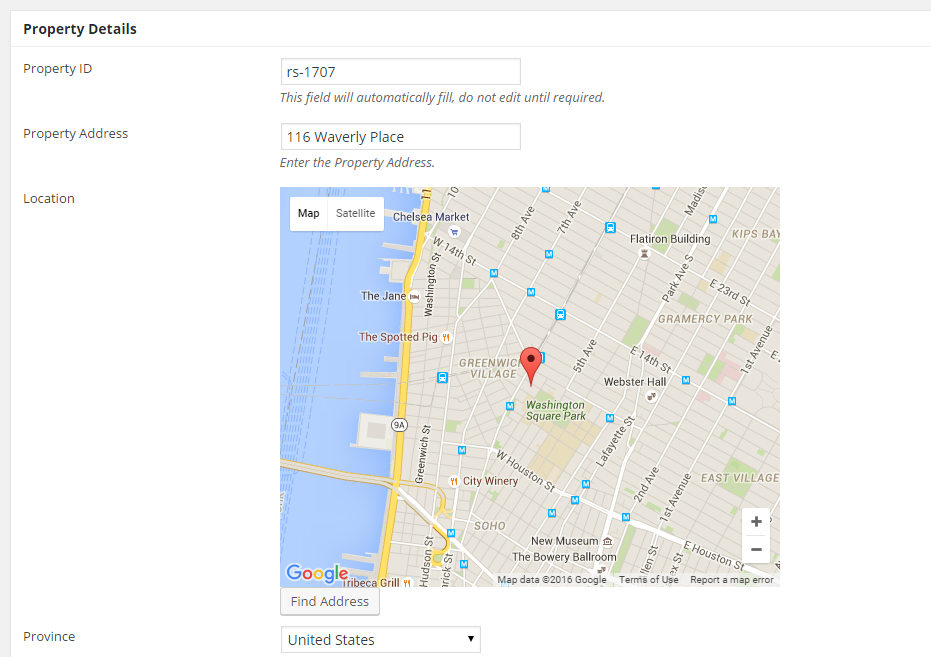
Property ID : This field will automatically fill, do not edit until required.
Property Address : Insert the Property Address.
Location : Locate your Property address
Province : Select State/City for property.
Property Value : Enter the Property Value.
Property Area : Enter the Property Area.
Baths : Enter the Number of Baths.
Beds : Enter the Number of Bedrooms.
Parking : Enter the Number of Parkings.
Property Sights : Upload Property sights.
Amenities : Enter the Amenities of Parkings.
Featured Property : Select Yes to make this property featured.
Property Slide : Select Yes to display this property in homepage slider.
page_properties_sc
Property Pincode : Enter the Pincode of Property
Property Zoom Option : Enter the Zoom level for Property Map
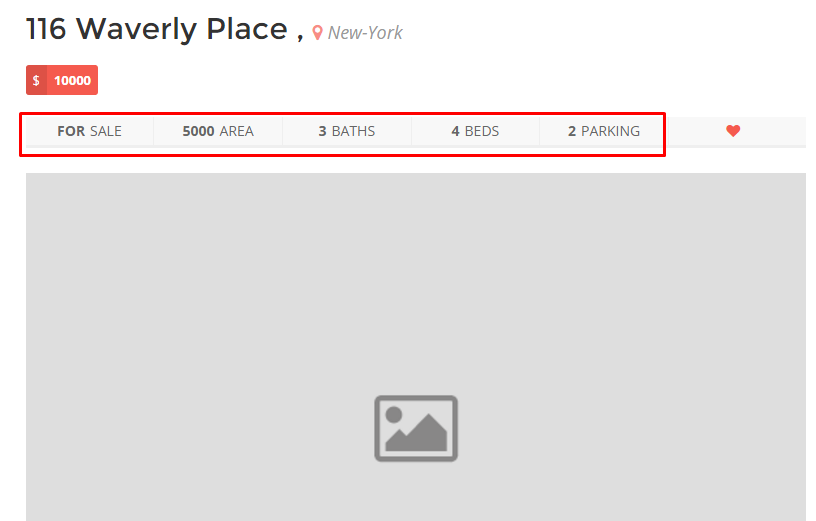
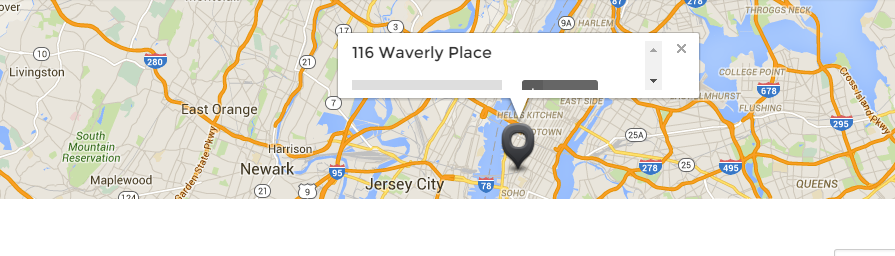
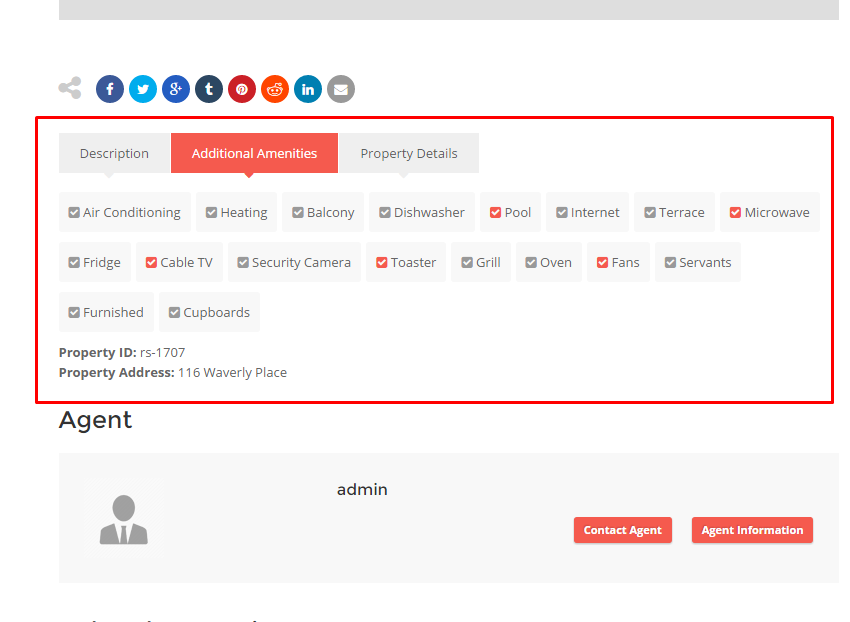
Step 13 : When you are done, go ahead and update your page and it should look like this.