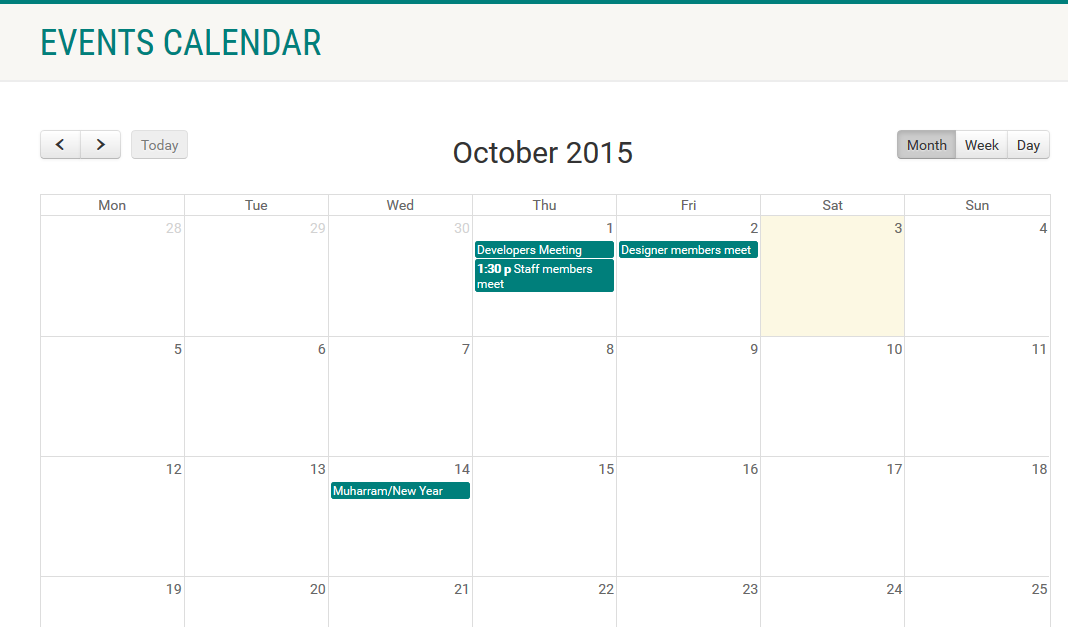
Setup Google Calendar
This section of the documentation will guide you on how to get your google calendar API key and ID to use for showing your Google Calendar Events in your Native Church Calendar.
Step 1 : Log into your Google Account and proceed to this URL: https://console.developers.google.com/project
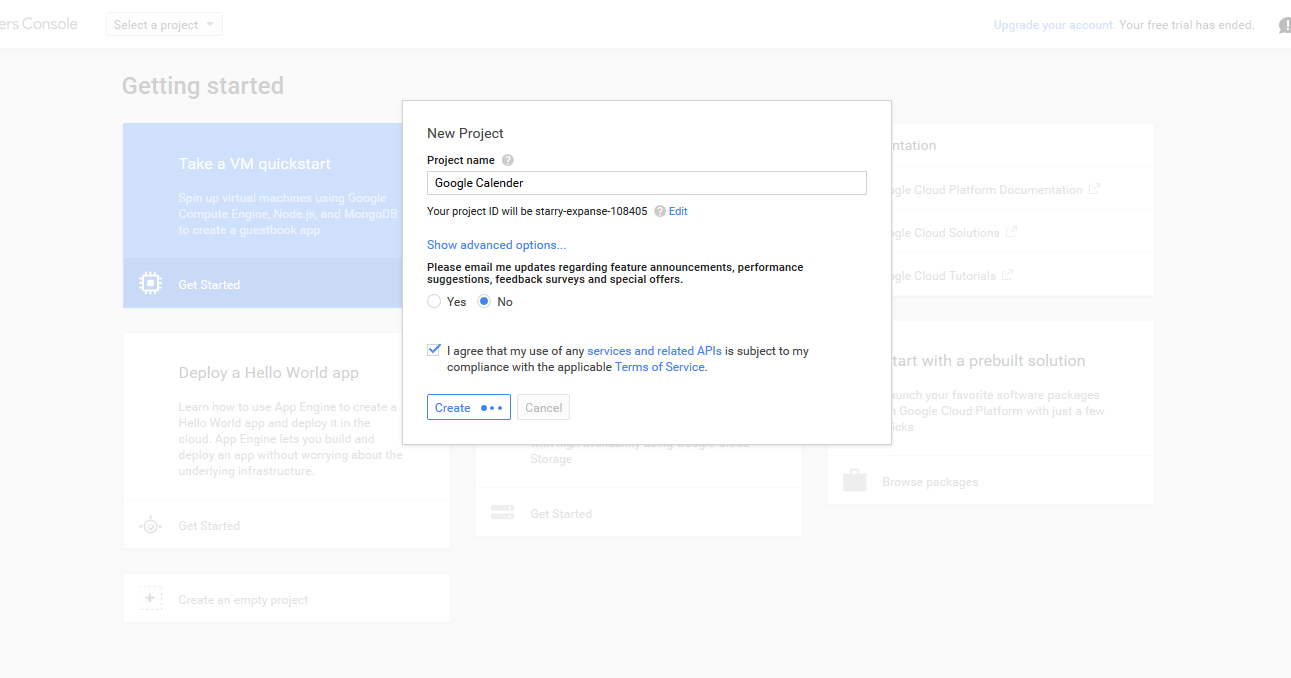
Step 2 : Create a “New Project” by inserting a name for your project.
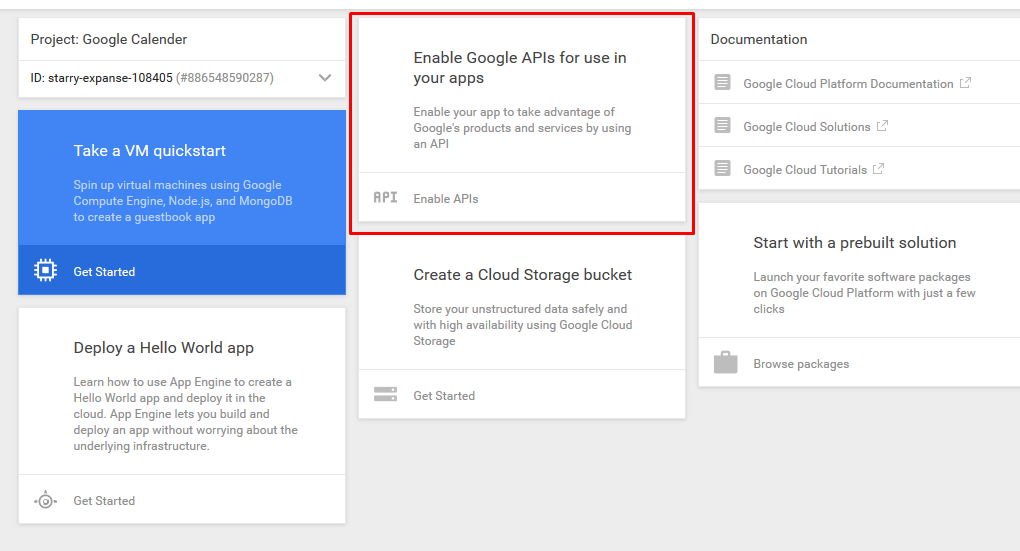
Step 3 : Click on the “Enable Google APIs for use in your apps” to generate an API key.
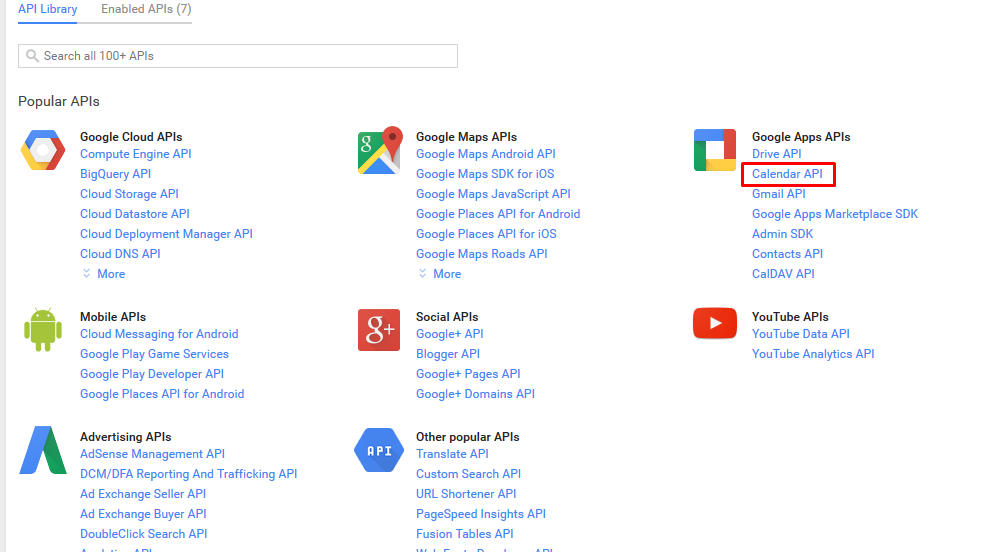
Step 4 : Search for “Calendar API” and click on the link provided.
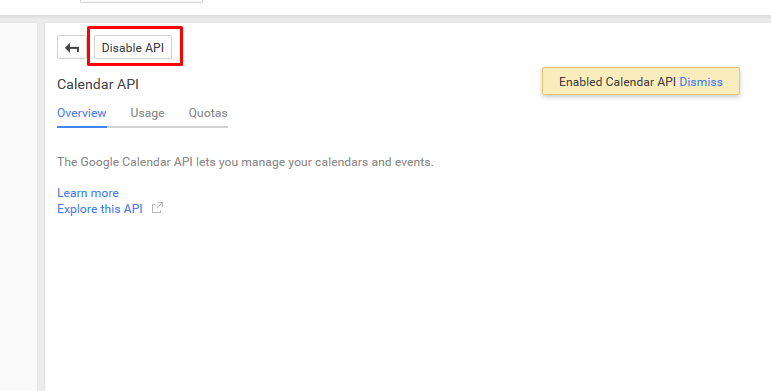
Step 5 : Click on the “Enable” button to activate the Calendar API
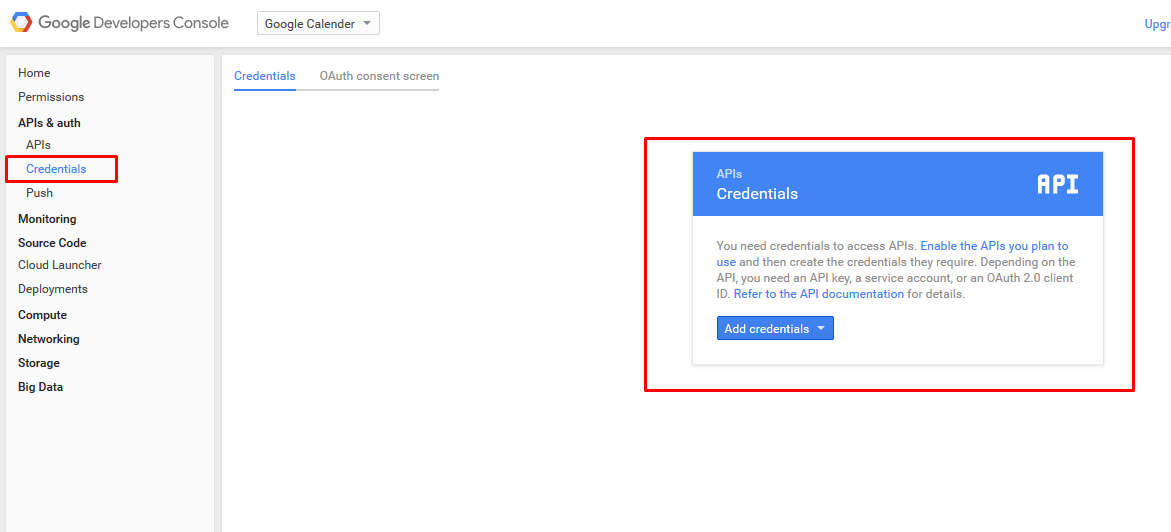
Step 6 : On the left sidebar, click on “Credentials” link under APIs and auth heading. Then on the popup, click on “Add credentials”.
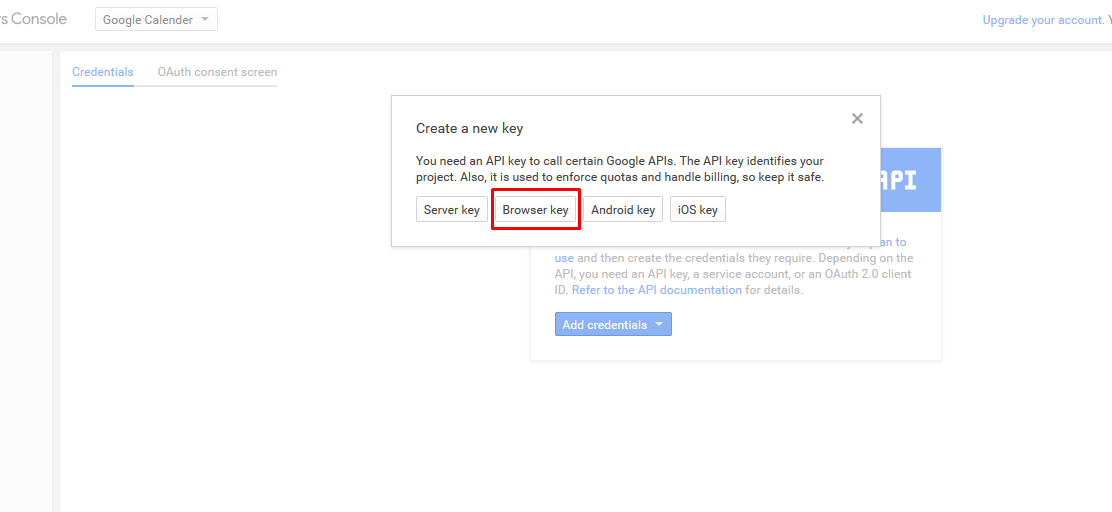
Step 7 : Click on “Browser Key” to continue.
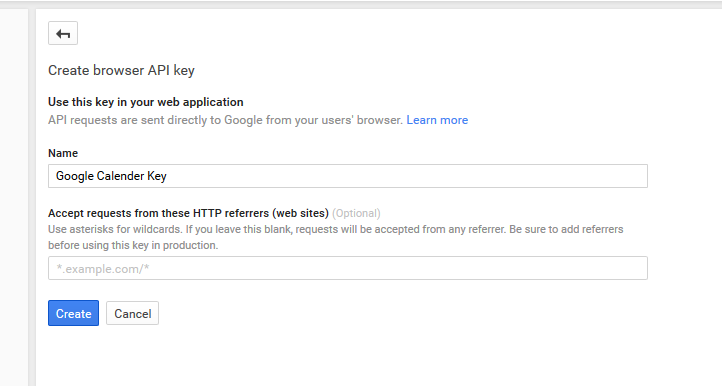
Step 8 : Insert a Name for your Browser Key and click on “Create” button to continue
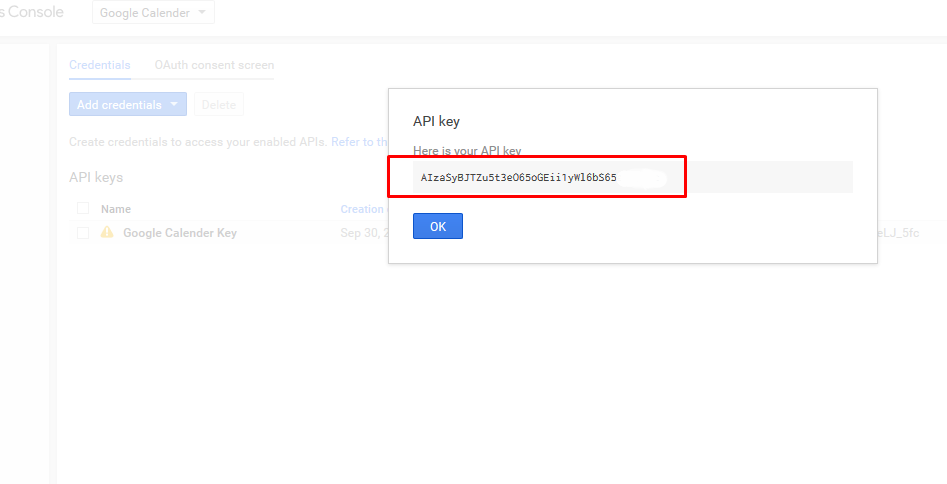
Step 9 : Copy your API key and make sure to keep it private.
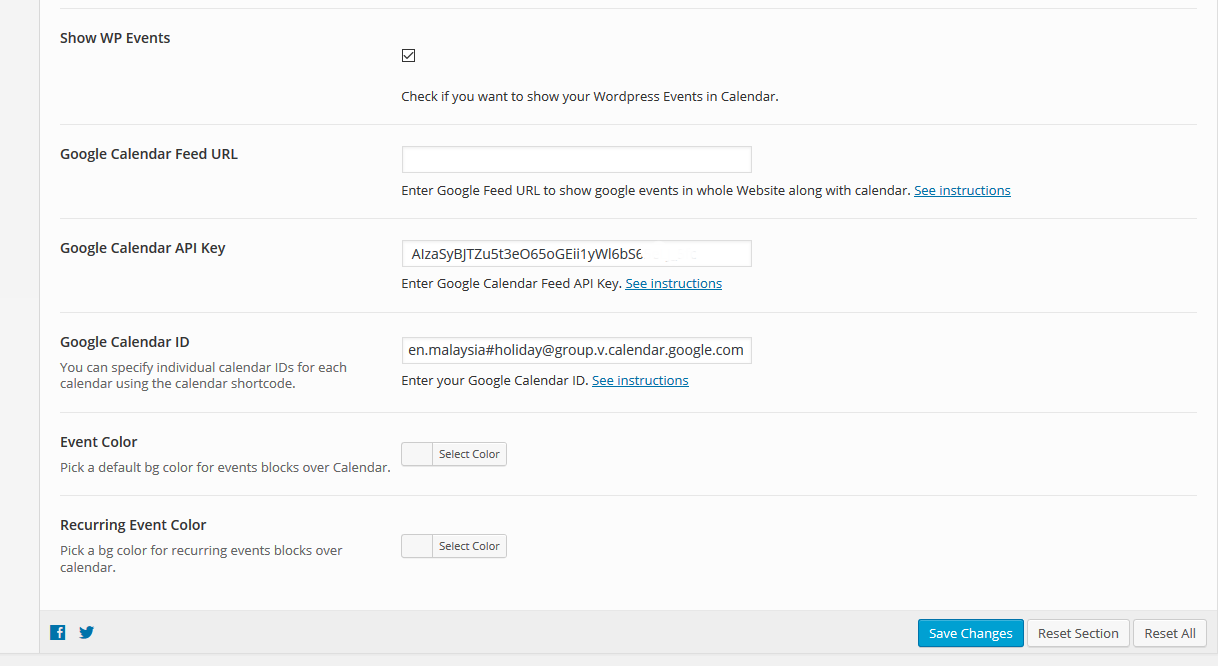
Step 10 : Log into your WordPress Dashboard and navigate to Theme Options > Calendar Options. Paste your API key into “Google Calendar API Key” textbox.
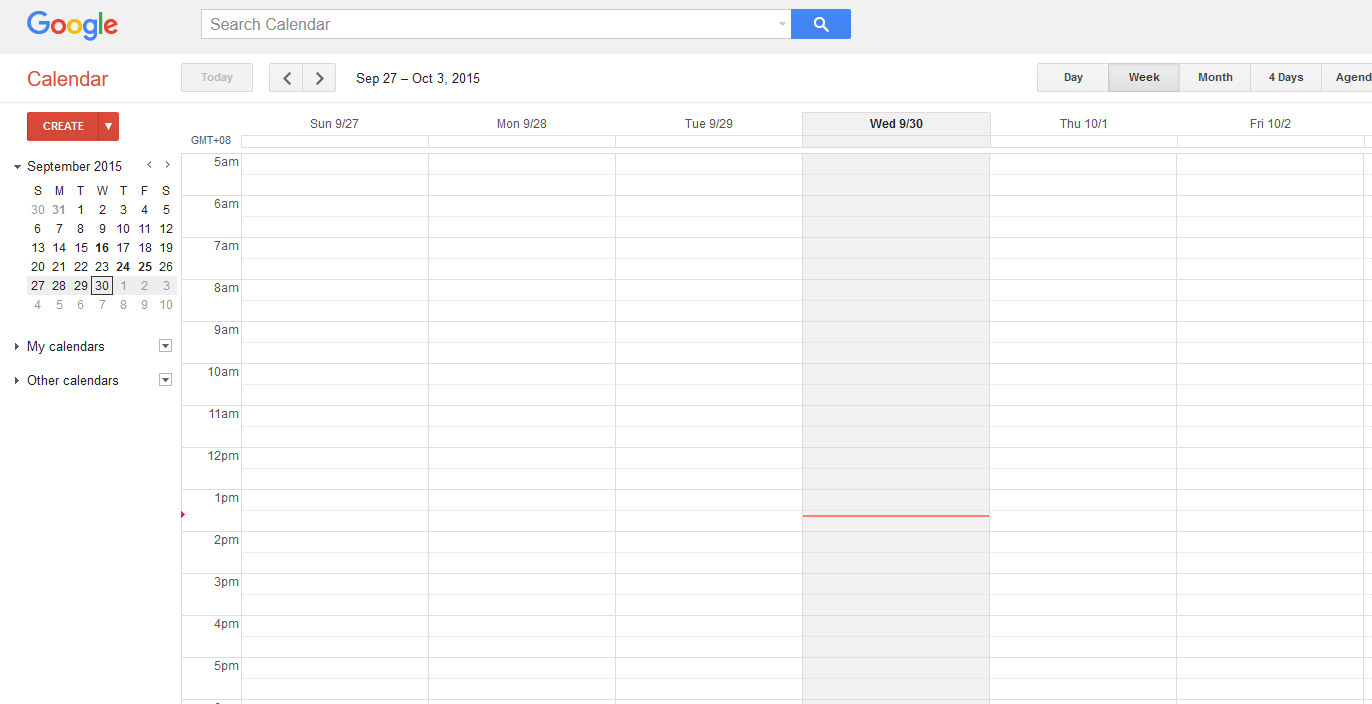
Step 11 : Next step is to get your Google Calendar “ID” and to get that go to your Google Calendars page here.
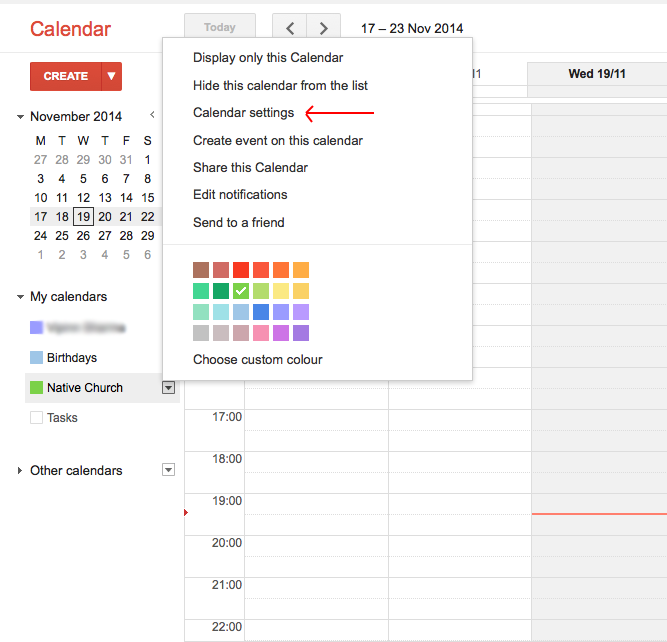
Step 12 : Click on any calendar’s arrow which you want to share at the left sidebar under “My calendars” tab. On the popover click on “Calendar settings”.
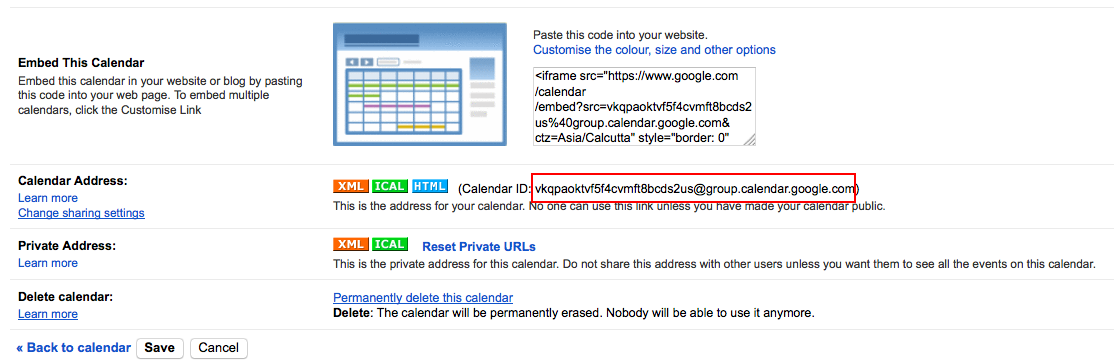
Step 13 : Locate the calendar ID which needs to put at Theme Options > Calendar Options. Paste your calendar ID into “Google Calendar ID” textbox.
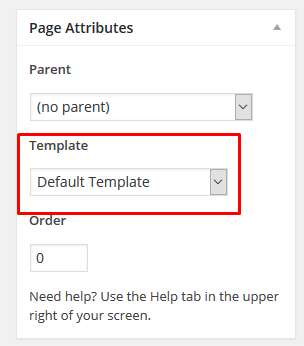
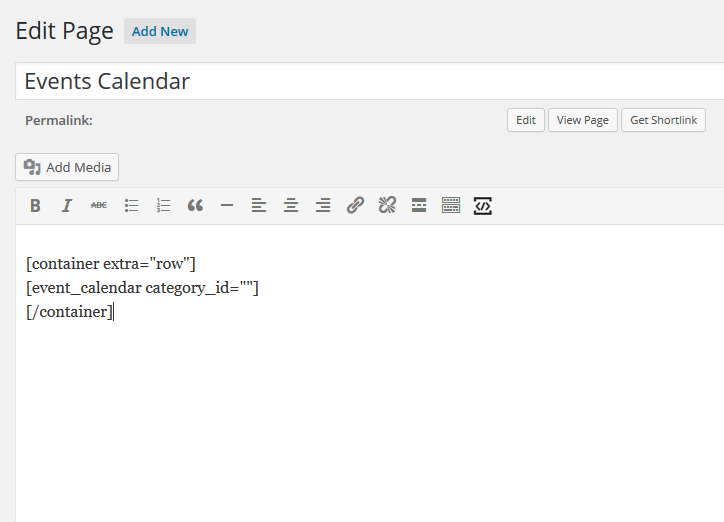
Step 14 : When you are finished, create a page with the “Default Template” and insert the shortcode below to show the Google Calendar.
|
1
2
3
4
|
[container extra="row"][event_calendar category_id=""][/container] |
Step 15 : When you are finished, Update your page, it should looks like this.